How to Lay Patio Pavers
Please note, these instructions also work for other types of stone, such as bluestone or travertine.
Why choose granite pavers for your patio project?
Your outdoor patio sets the stage for many of life’s cherished moments: a child taking her first steps, sitting with friends around a casual table talking long into the night, getting cozy in front of a roaring fire roasting marshmallows and sharing stories. These are the moments that last – the ones we hold close from the moment of our experience throughout our entire lives. These are the times that our children’s children will talk about with their loved ones a generation from now.
So, what could be a better choice to use for your patio surfacing than granite? For a paver installation, granite is the classic and resilient material, guaranteed to last along with the one-of-a-kind memories we make together on those family patio spaces.
When it comes to outdoor projects, there’s no substitute for a granite patio.
Make natural stone your material of choice and you’ll spend your time enjoying your outdoor living space instead of maintaining it, as natural stone is virtually maintenance-free.
Granite is also easy to work with, requiring much of the same equipment used to install concrete patio pavers. Natural stone products are by their very nature resistant to freeze-thaw cycles, naturally durable, fade proof and guarantee your work will last for decades to come.
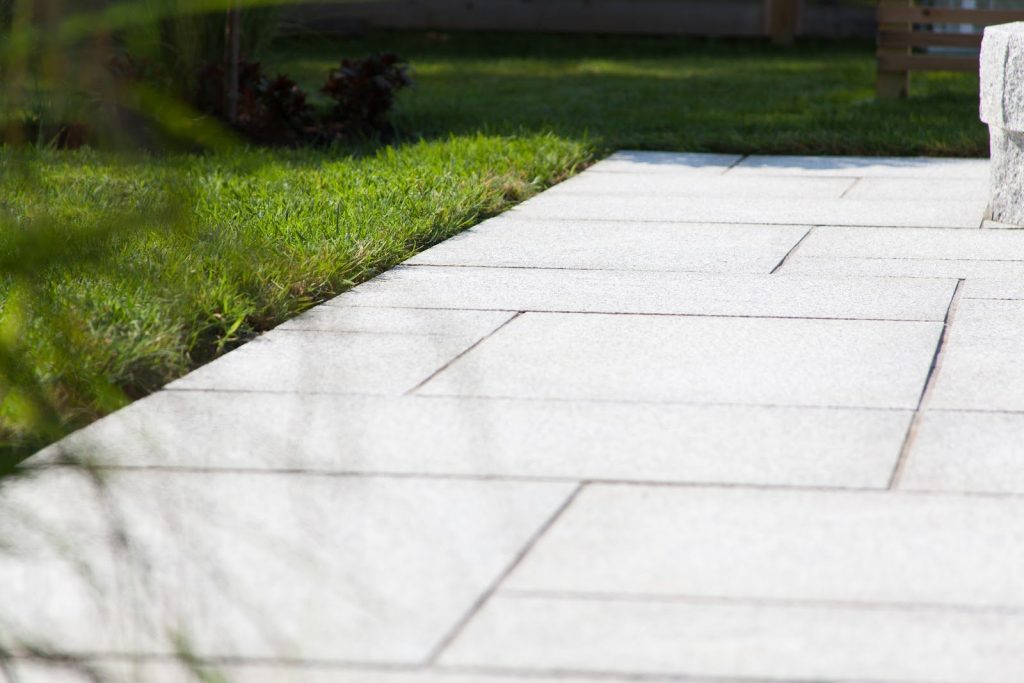
EASTERN GRAY™ granite pavers are as natural a material as you’ll find, made by the earth itself and quarried in New England according to the most rigorous safety and ethical standards, worldwide. All Polycor stone is delivered to you through a verified chain of custody that guarantees you are getting a sustainable, quality building product, and your choice to use our natural stone also guarantees local jobs, as we are the largest quarrier of natural stone in North America. Buy local, support our shared environment and be part of a community of makers and builders who honor the earth and our future.
Granite pavers can be installed using many different methods, whether dry set over aggregate or wet set over concrete plus a multitude of other ways in between, like a permeable paver installation or a hybrid method. And there’s new accessory products coming out every year that offer time and labor saving alternatives. Here we’ll be covering the paver installation steps using one of those alternative products to increase productivity when laying large format granite slab pavers.
Ready to build your own, perfect patio space and make your own, perfect memories? Let us help show you how to lay pavers, let’s get started!
Planning Your Outdoor Granite Patio
Before you start to dig, you need to answer some questions about your new paver patio installation:
What will you use it for?
Your new patio will essentially become a new outdoor “room,” accommodating anything from cooking to snuggling. It’s easy to see how some homeowners end up with a few of these rooms!
Where will you put it?
If you’re going to use your new patio as a dining area, it makes sense to position it close to the house, making serving and clean up a snap. But there’s also something to be said for an area that’s a little secluded, maybe farther from the house and connected by an inviting stone path – a hidden nook for getting cozy next to a firepit or intimate seating for late night convos.
How big will it be?
Obviously, the size of your yard will help determine just how big your patio will be. But there are other variables to consider, like setbacks from property lines, fitting chairs around a firepit or dining table or maintaining a pleasing scale with other outdoor spaces and the size of your home.
What material will you use?
While there are many products appropriate for building a patio, we chose Eastern Gray™ granite pavers for this featured project for its clean lines and neutral coloring. Wood, brick and concrete all have their own place in a design, but they don’t stand a chance against granite in weathering the harsh elements. In fact, wind, rain and snow only make natural stone more luxurious and distinctive over time.
What size will the pavers be?
Stone pavers come in a range of sizes from as small as 12″ x 12″ all the way up to large pavers such as 24″ x 36″. There are even extra large pavers that are available in 36″ x 36″ and 24″ x 48″ sizes. Learn more about large pavers here.
How many pavers will you need?
Once you’ve established the location and size of the space it’s time to figure out how many pavers you will need to cover the area. Use this handy paver stone product sheet to calculate paver quantities.
What’s the style?
Patios can take on a variety of styles based on the shape and material used in its design. Generally, homeowners want both the shape and materials to complement the vibe of the home, allowing it to blend seamlessly and create an extension of your indoor living space.
Granite Pavers Install 101
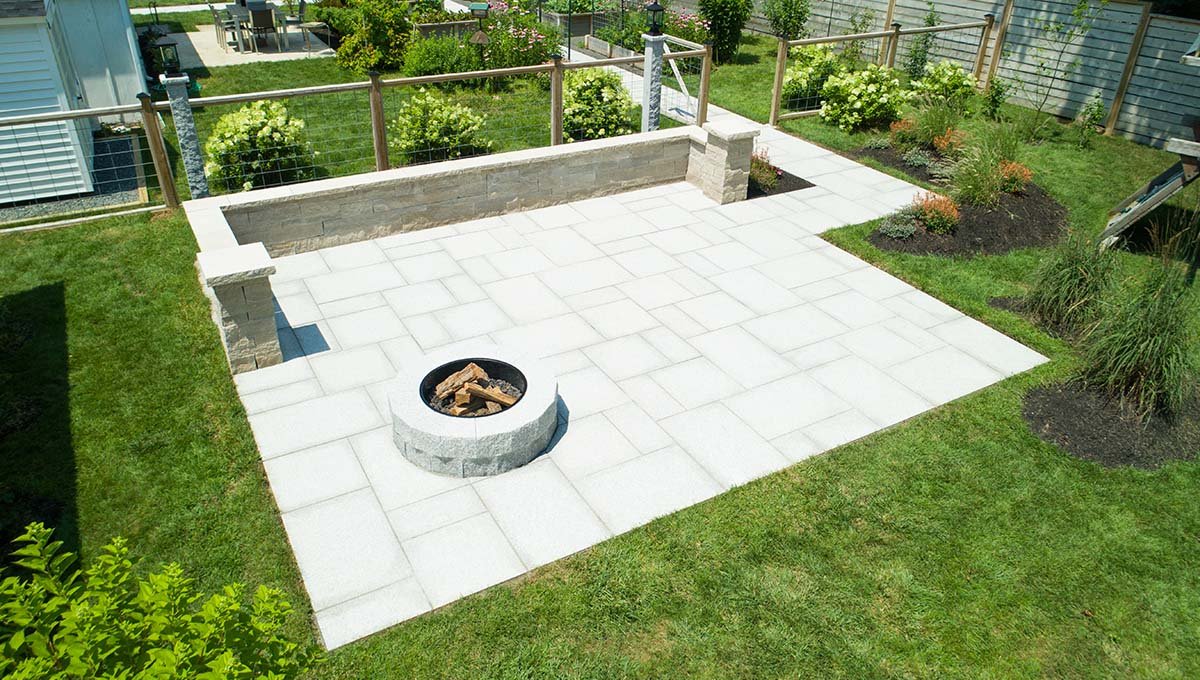
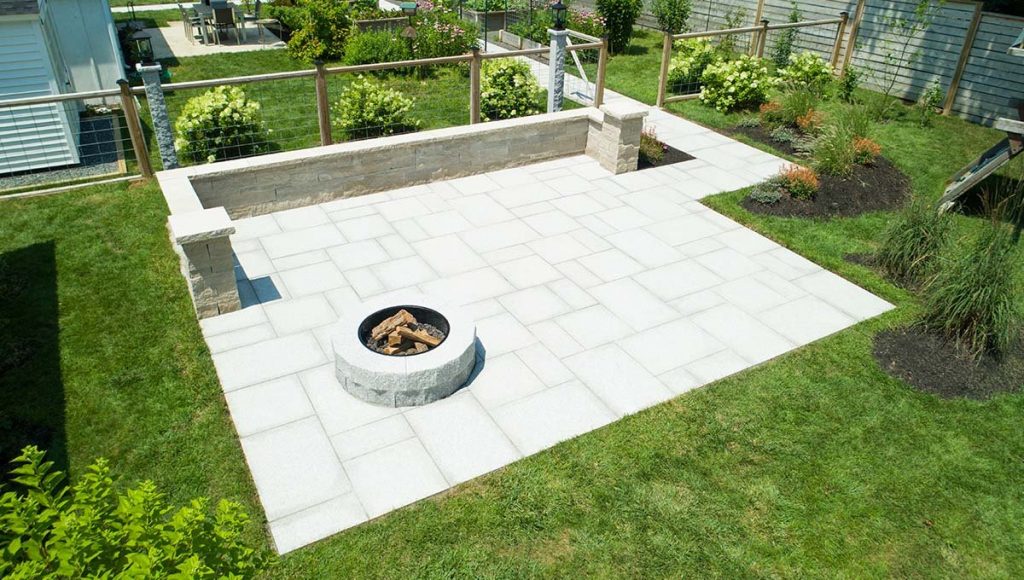
This recent patio project is a good illustration of how to install granite slab pavers, as well as how to install paver base, using specific paver installation tools and materials. With the help of high-density foam panels used for the paver installation process, a two-man crew was able to install 400 s.f. of patio paving per day. Here’s how…
Patio installation is as easy as 1,2,3…8!
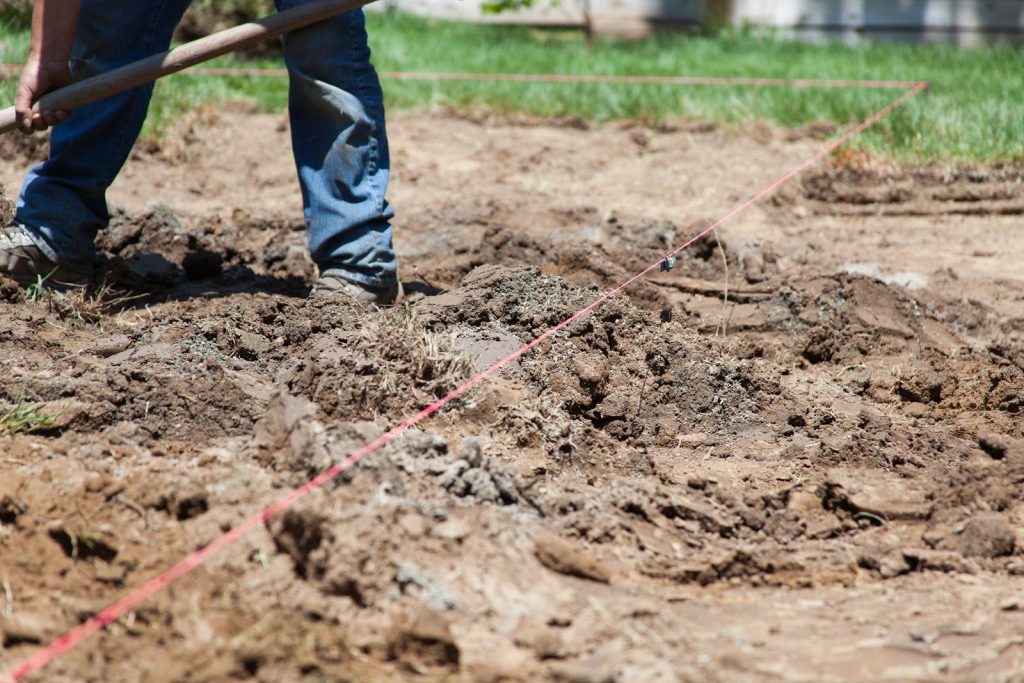
1. Map out the designated patio area by running lines and squaring up edges and corners. For this project, an alternative dry set method was used to save time and labor by reducing the excavation depth.
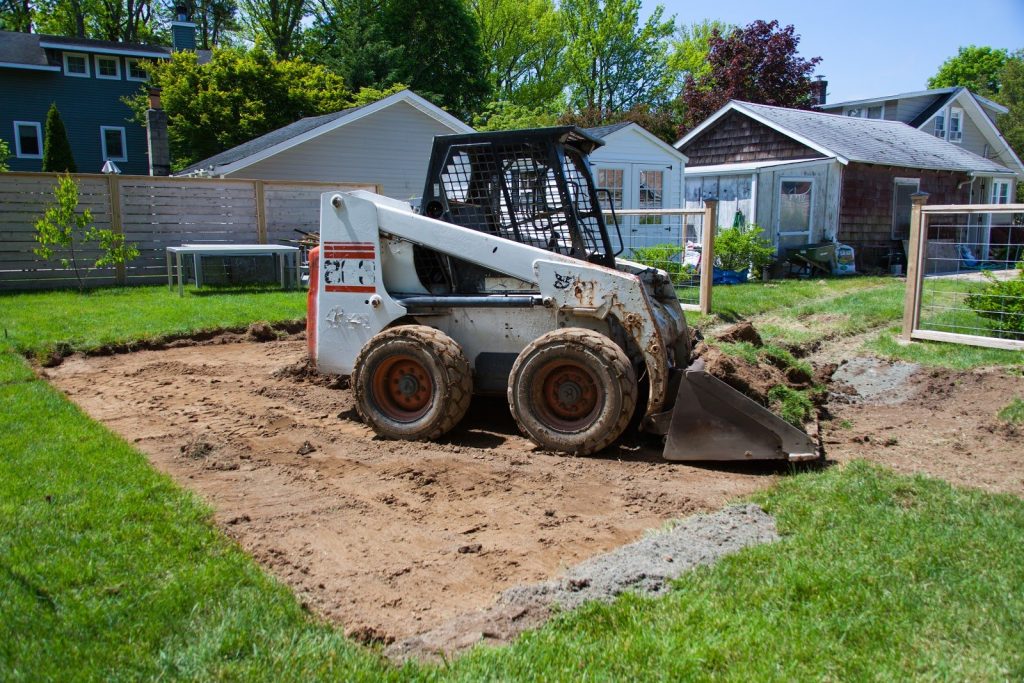
2. Begin excavating the paver area to about 4 inches depth, removing sod and organics. Grade properly, maintaining a 2-percent slope and bringing up any low spots with densely graded angular limestone to ensure a solid paver base installation.
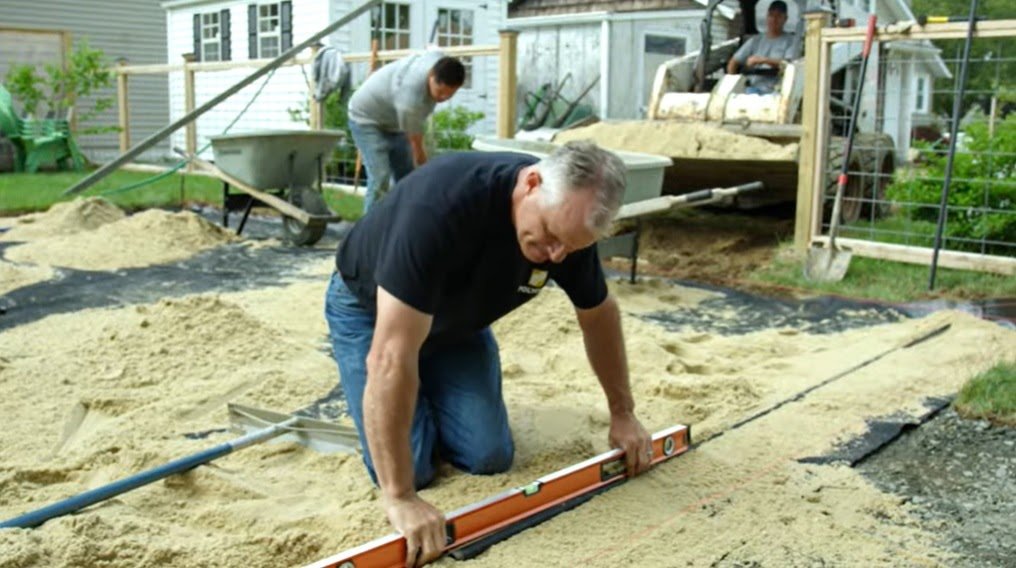
3. Compact the sub base with plate compactor and place down woven geosynthetic fabric. Bring in ¾ inches of concrete sand, leveling and following the pitch with screed rails (here, ¾” pipe). Use a long straight edge or aluminum screed to level the sand bed. Remove pipes and fill voids with sand, maintaining level surface.
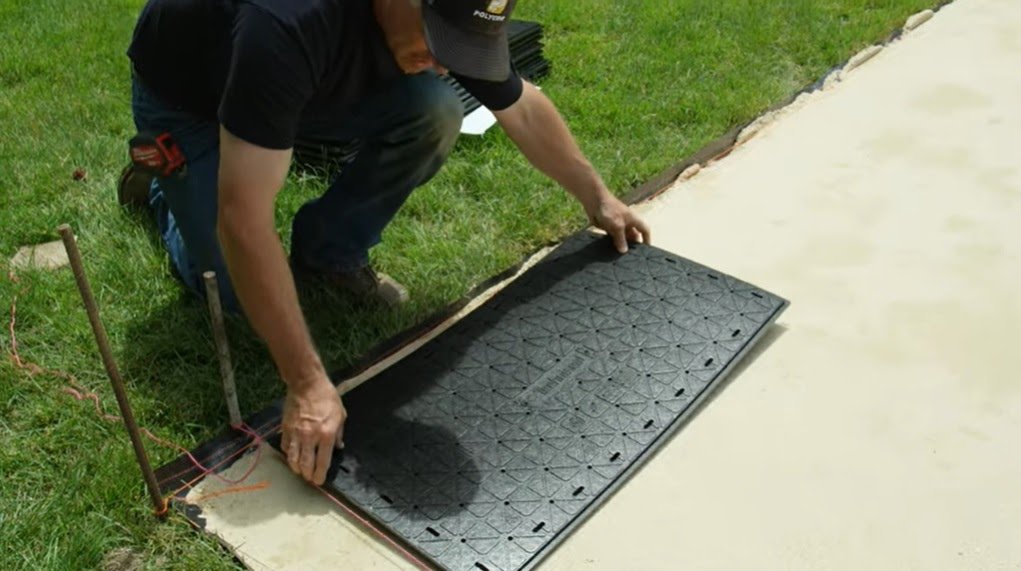
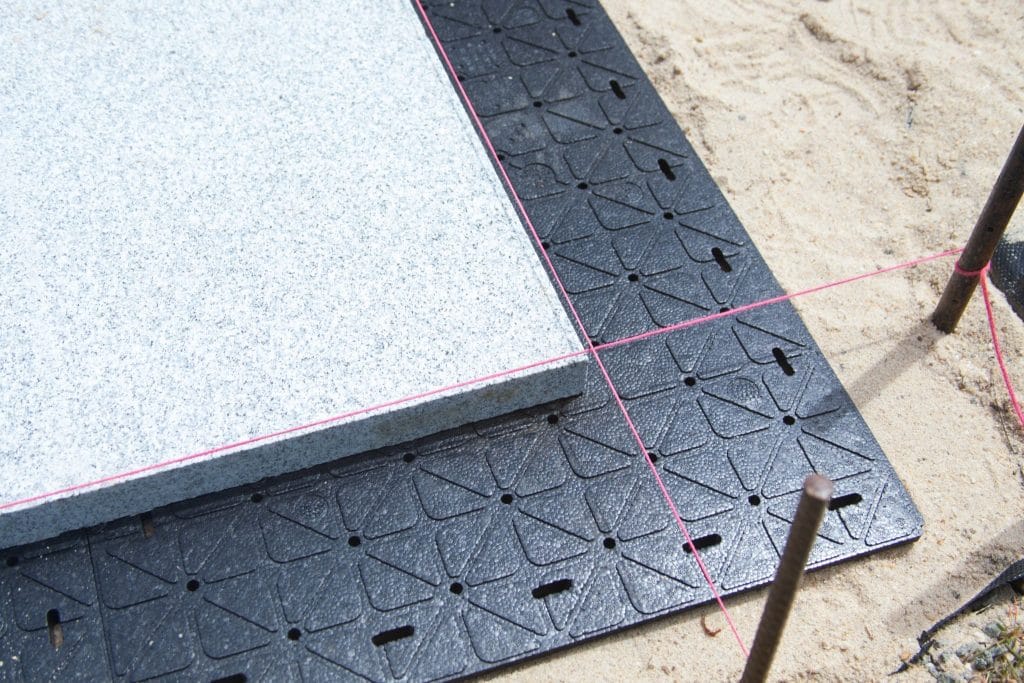
4. Lay high-density foam panels onto the sand bed, here EZ Base panels by Techniseal were used. Lap the joints and keep tight, extending it 6 inches beyond the finished paver edge. EZ Base is a high-density foam panel that replaces traditional compacted aggregate-base installations, saving up to 8 inches of excavation and greatly reducing time and labor.
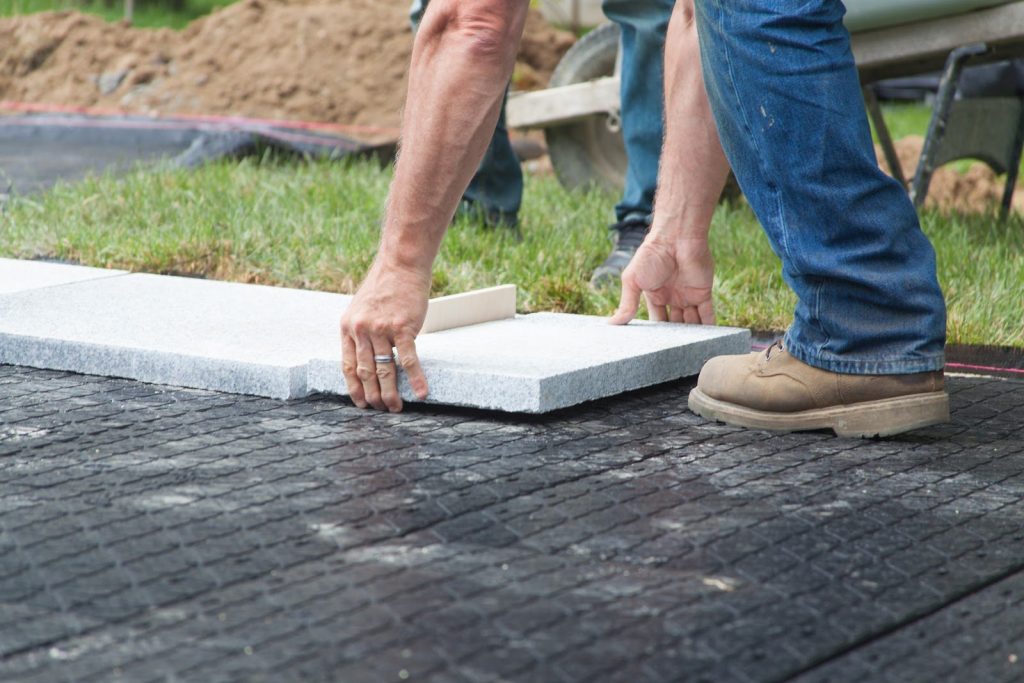
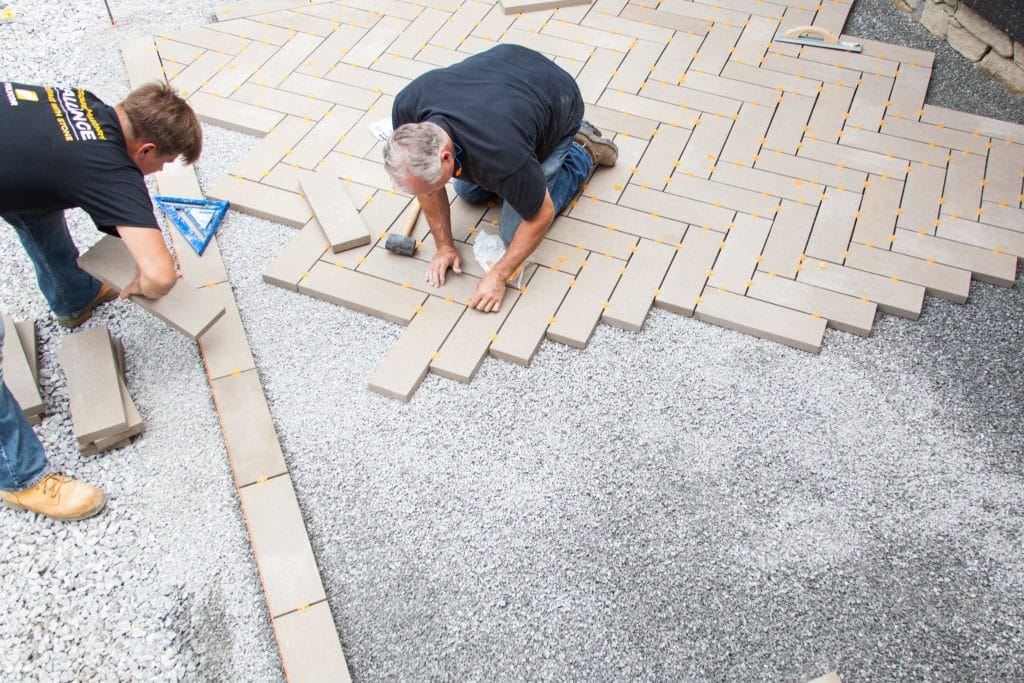
5. Begin to establish a square line to start laying pavers. This project uses 1 ½-inch thick Eastern Gray™ granite pavers laid in a Chesapeake pattern, incorporating 12”x24”, 24”x24”, and 24”x36” sizes. Here we demonstrate how to lay patio pavers.
6. Pave Tech’s powerful MITE vacuum lifter increases efficiency and allows installers to work more ergonomically, making quick adjustments of laid pavers that much easier. It’s recommended to use spacers to help with paver and joint consistency. Continue to repeat the pattern and check for square.
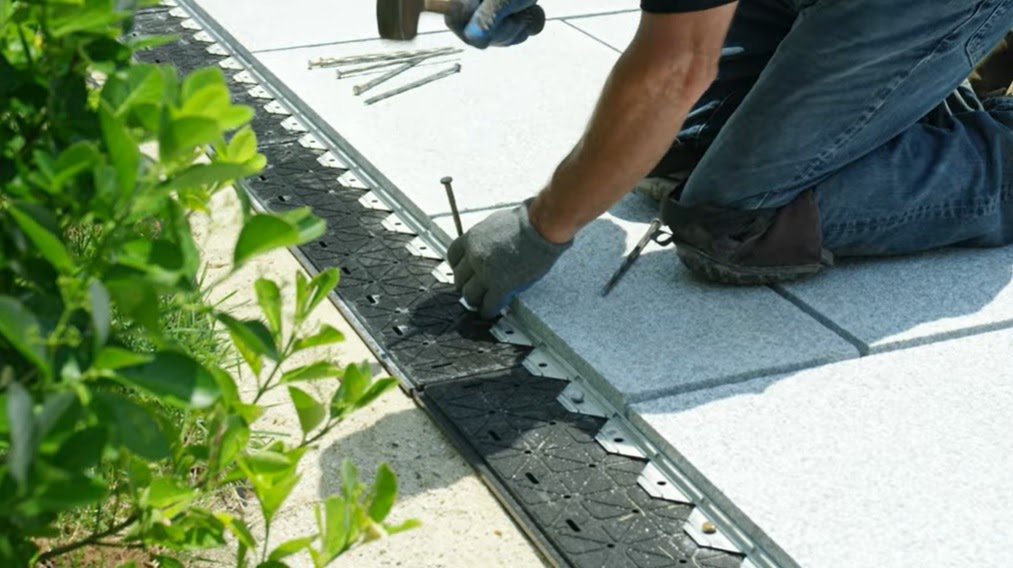
7. Install Paver Edging. In this project ⅝-inch low-profile aluminum edge restraints from Techniseal were used. Installing paver edging is easy to do. Simply measure the edging to run the longest lengths of the patio and make any necessary cuts to piece in remaining sections. Dry fit the edging, press firmly against the edge of the granite patio paver and hammer in 10-inch stakes through the EZ Base down into the compacted aggregate base. Then, begin preparations for joint fill. In this project Techniseal’s NOCO non-compactable Polymeric joint material is used.
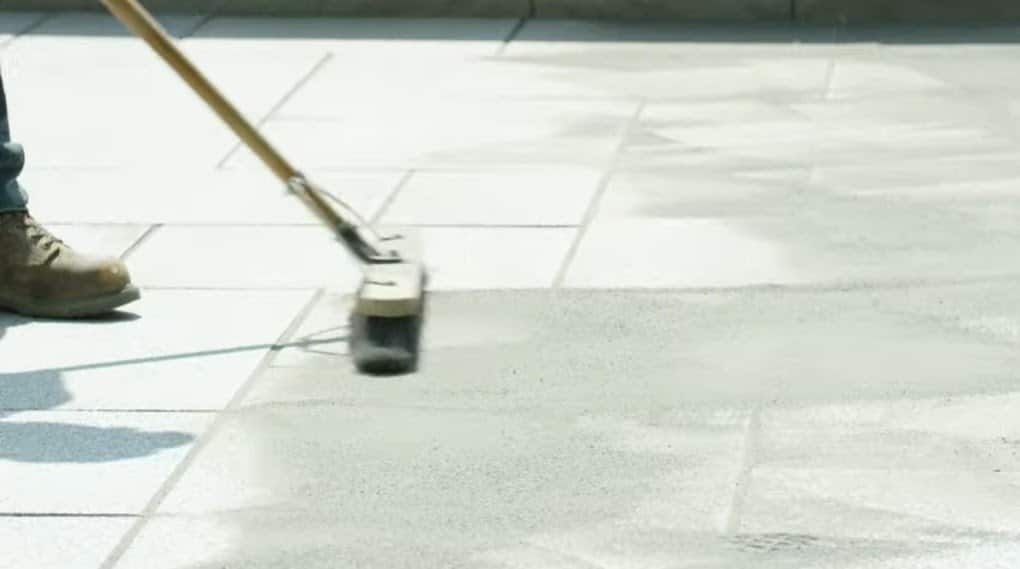
8. Sweep and fill joints completely. Use a leaf blower on low setting to remove excess and a small brush to smooth the joints so they sit just below the surface. Wet the joints and remove excess, standing water with a leaf blower. Make sure to follow the bag’s instructions. Allow to cure for 7 days.
After the joints cure in about a week, your patio is ready for dining, dancing or just relaxing under the stars, knowing that the granite pavers underneath are working hard to make a stage for life’s many special moments for years to come.
Other Factors to Consider When Laying Patio Pavers
Soil Types
Get to know your soil! Most people think that dirt is dirt and haven’t given much thought to what soil type their outdoor space has. Once you’ve planned your project and assessed your site, you’ll have a better idea of what you’re working with – especially when it comes to the soil type. It’s important to establish what type of soil you will be building your project on, as well as how to properly amend the soil, and how to effectively compact the soil before beginning the paver installation.
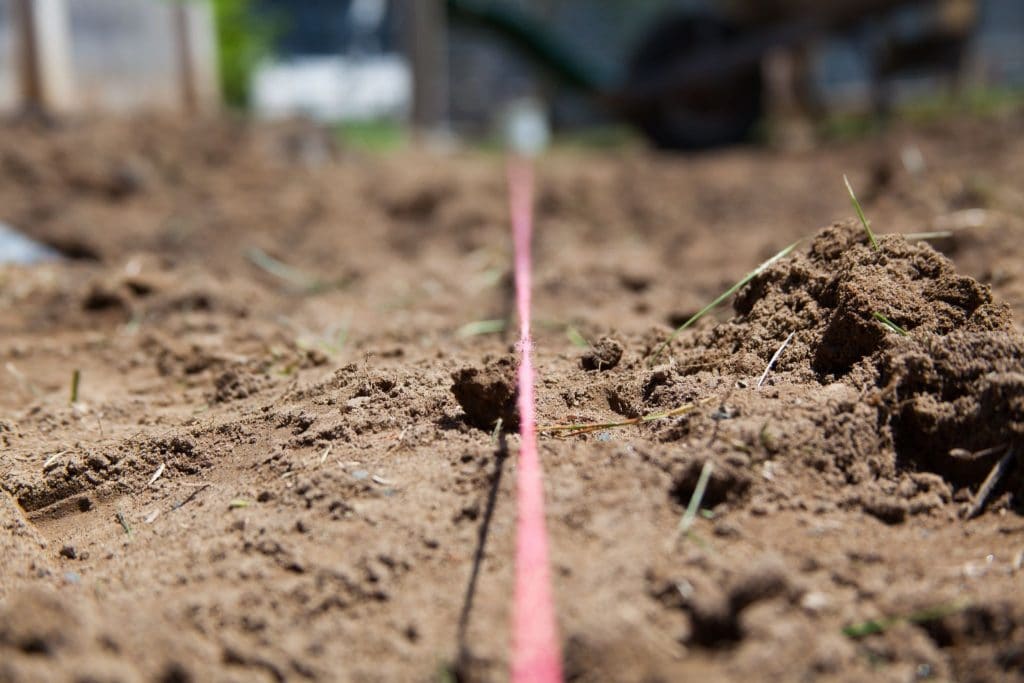
Properly amended and compacted soil allows for better stability in the finished project, and less excavation, which also means less time spent digging. It will also save you time hauling away excavated soil, and less aggregate to buy to fill the base. Overall, it just means less money spent.
The most important thing to know about your soil is its ability to retain water. This is what will either make it weak or strong. Water will act as a lubricant which, over time, will be what makes the soil shift.
So how do you assess your soil? First, you need to know what type of soil you’re working with. There are three main types of soil: sand, silt, and clay. Sand will hold less than 30% water, making it a strong soil, while silt and clay hold over 30% water, making them weak soils.
Obviously, you can’t replace the soil, so what do you do? Depending on which type of soil you’re working with, you can make certain amendments that will help reduce water retention. The first solution is a chemical amendment, meaning that you will use a chemical, typically lime (calcium oxide), which allows the water to be released from the soil structure. With this approach, you’ll want to use one 50 lb bag per 100 sq ft of soil.
Another solution is a gradation amendment. A moist soil will typically contain too many fine particles. By adding and compacting larger particles to the existing soil, you will increase its load-bearing ability. Compacting ¾ clean stone in a layer that is 1 to 2 inches thick, until the soil no longer absorbs any of the stone, will ensure that you have proper drainage. If your clay soil still seems soft after compacting it, you should wait for it to dry.
To test your soil’s moisture level, grab a handful of soil and make it into a ball. Then, drop it from about 1 foot from the ground. If your ball breaks into about 4 to 8 even pieces, your moisture level is perfect. If it crumbles, there is not enough water, you’ll simply need to add water. If it plops down, then there is too much water, and you will need to let it dry out or use a chemical amendment.
Drainage and Water Runoff
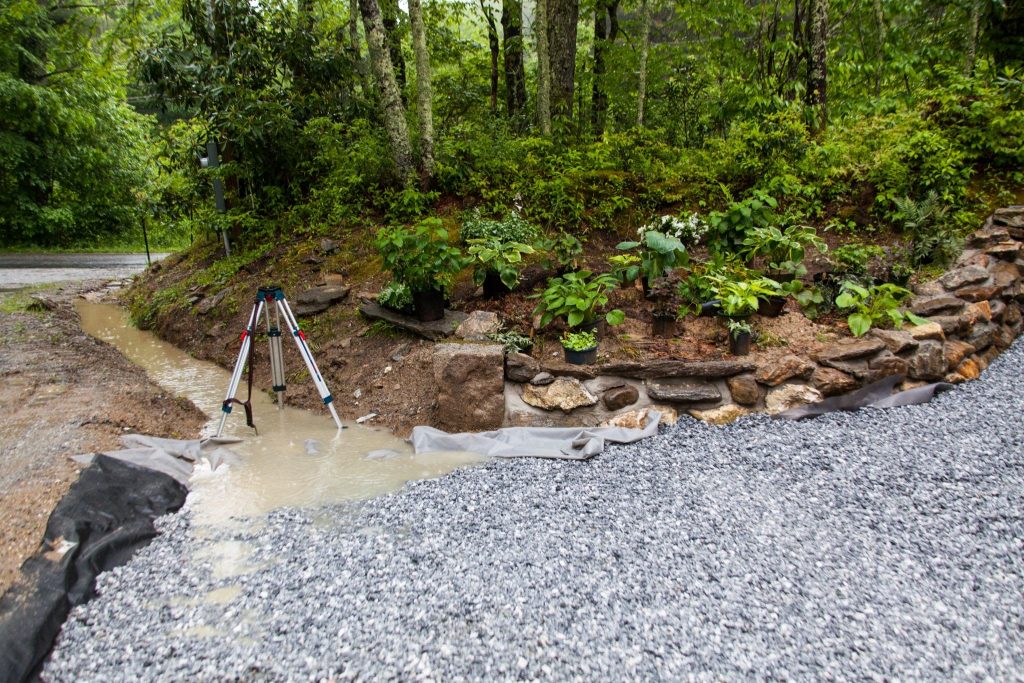
Managing water is a common challenge that needs to be planned for at the beginning of the project before installing any base materials. Allowing for water to move down and away from your home or adjacent buildings should be addressed at the time of excavation and when laying out the project with stakes and stringlines. The minimum recommended slope of 2% (or 3/16” per foot minimum) should be established at the compacted soils level and continue all the way up through to the paving, keeping the same pitch.
Planning your project properly before you begin excavating will avoid unfortunate situations like over digging and needing to change the direction of your project halfway through, ultimately saving you time and money.
Different Base Types for Paver Installation
There are many types of installation systems that can be used to build a quality granite paver patio. The method shown above using EZ Base eliminates the need to dig deeper and use additional aggregates, or base materials, to fill and compact to lay pavers onto. This makes the EZ Base system very DIY friendly as you only need to dig down beyond the top layer of organics, about 4”. The pavers used for this project are 1 ½” thickness, plus the EZ Base thickness of ⅞”, plus the leveling sand and geotextile fabric equal approximately 4” overall of excavated soil.
There are several other types of bases that can be used for installing pavers:
- There is the densely-graded base, which uses mechanically crushed rock aggregate. The size of the aggregate is designed so that when compacted, the spaces between the particles are very small.
- Then, we have an open-graded base, which is like a permeable base without it actually being permeable.
- And lastly, you can install granite pavers directly over concrete
Dense Graded Base
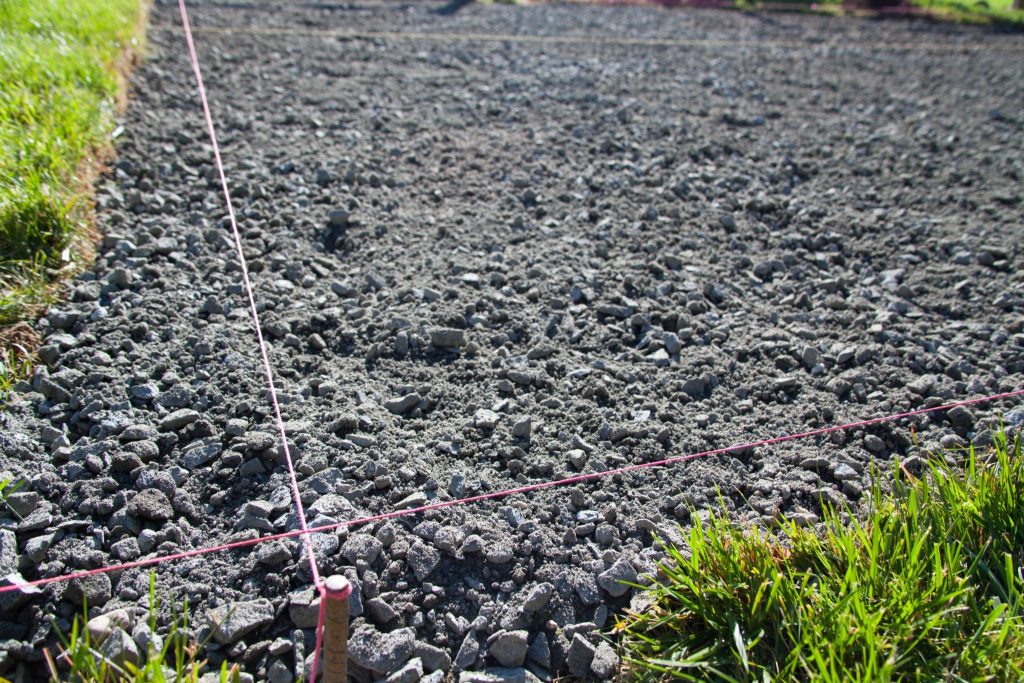
A densely-graded base is a more traditional method, using densely graded aggregates and ¾“ to fine particles. It has to be at least 4” thick but if you are working with a weak soil, a wet climate, an extreme freeze-thaw cycle, or if the surface will be supporting heavy loads, the base will need to be thicker. We recommend 6”- 8” thickness for greatest stability and performance. If you are building a walkway or a patio and using a densely-graded base, it will need to be 6” to 8” thick. Your base should extend a minimum of 6’’ beyond the area that will be paved or, if you have a thicker base, the same distance as the thickness of the base. So, for example, if your base is 4’’ or 6’’ thick, you should extend it 6’’ past the pavers. But if your base is 8’’ thick, it will also extend 8’’ past the pavers.
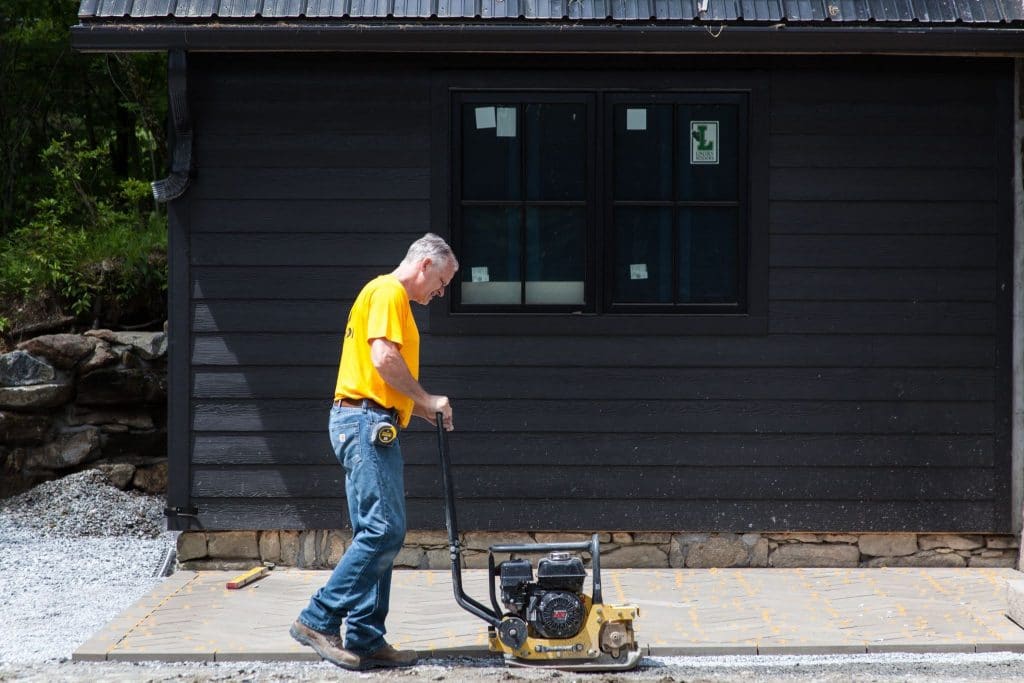
Keep in mind that compacting your base will reduce its thickness by 30%, so compacting it in layers (or lifts) of 2’’ to 4’’ is usually best. The thickness depends on the pounds per feet that the compactor is rated for.
Open Graded Base
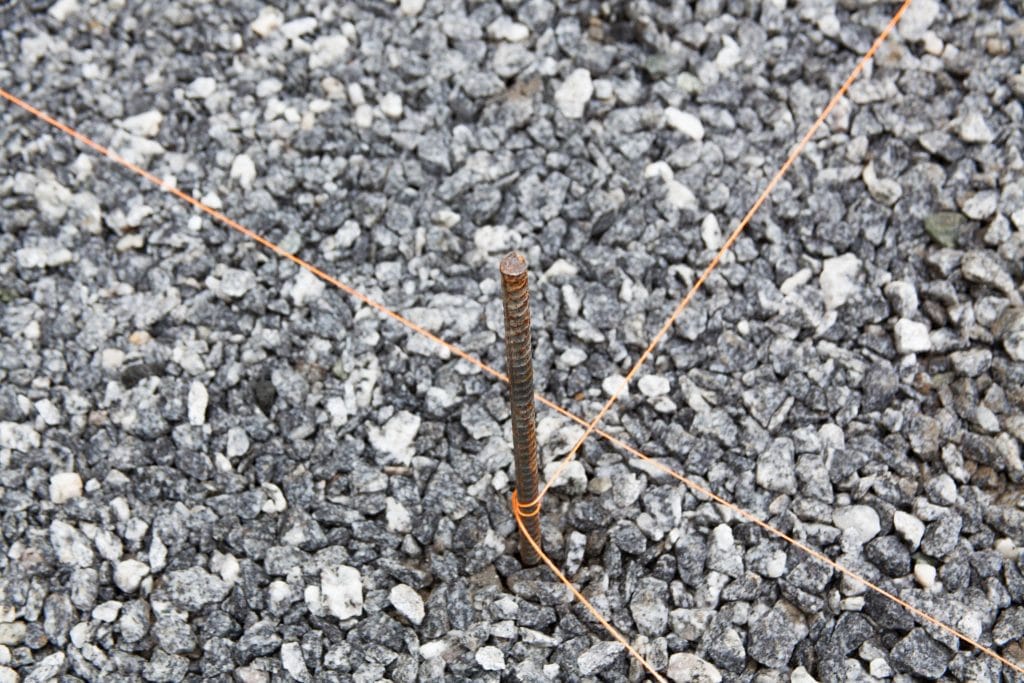
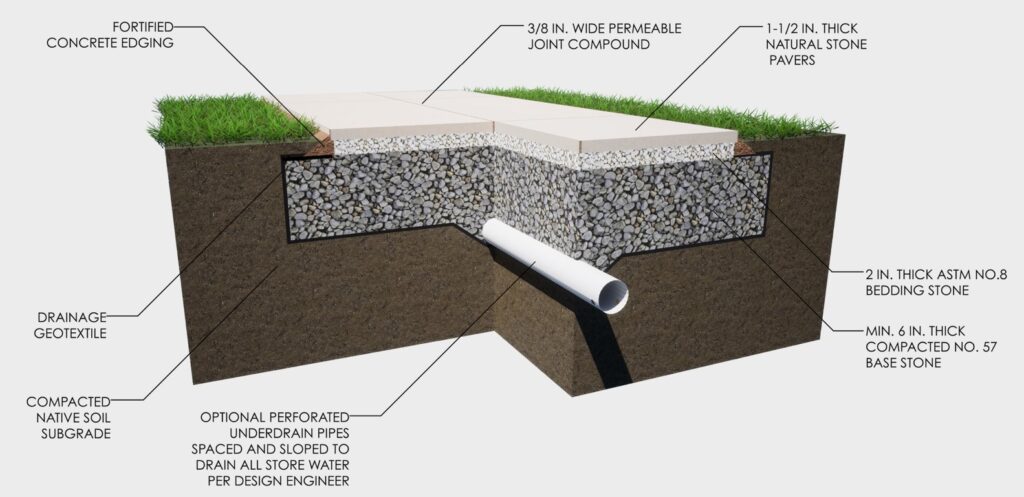
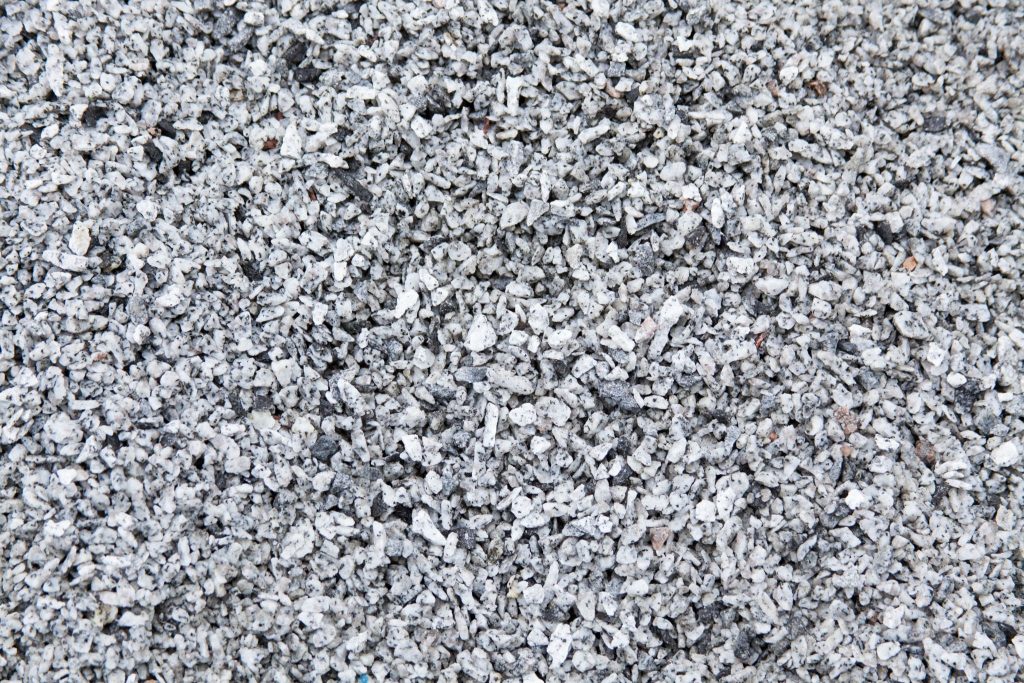
Now, let’s talk about open-graded bases. This type of base uses angular and symmetrical aggregates that have no fine particles. These types of aggregates are usually referred to as ¾” clean clear (washed) stone, or ASTM #57. This type of base is being used more and more because it has hardly any fine particles and it is not affected by freeze-thaw cycles because the water flows right through. This is really handy because any imperfections in the thickness of the base won’t cause it to fail.
It’s yields are also greater which saves you money because you’re using less stone. And compaction time is less because it’s 95% compacted when placed which saves you additional labor. It’s easier to grade and more workable as well.
Like with a densely-graded base, it should be a minimum of 4” thick, but we recommend a minimum 6” in most cases, especially when working on weaker soils, in wet climates, and when the paved surface will be supporting heavy loads. Also like the densely-graded base, it should extend beyond the paved surface for a minimum of 6’’ or the same distance as the thickness of the base and have a slope of 3/16” per foot.
When compacting an open-graded base, it’s important to make sure that the particles are tightly locked together. Another benefit is that you can compact in 4” lifts. With this type of base, compacting will only reduce the thickness of the surface by 0-5%.
READ MORE ABOUT THIS OPEN GRADED BASE PROJECT
Frequently Asked Questions
What if I have an uneven backyard or sloped area?
Differences between steep grade changes will require some form of a transition, such as a landscape step or tread, to get to the next level area. Most gradual slopes are acceptable for paths and walkways to follow, but larger patio areas should be as leveled as possible. If a significant slope exists, retaining walls will need to be installed and locked into the installation so that the area can be built up to a level grade using backfilled soils and aggregates. These projects will require a professional to execute and are typically out of the scope of most diy’ers.
How do I lay pavers on grass, dirt or sandy soil?
Due to natural stone’s density and strength it can easily be installed as stepping stones or accents directly onto grass or dirt. It’s typically best to plan the placement of the pavers by dry laying them in place and testing them by walking on them to see if they are comfortable distance from each other. Then, mark the edges of the paver, remove and dig through the grass just enough to get to the roots. Level the dug out area with some crushed stone or pea gravel and lay the paver. Tamp firmly into place using a rubber mallet. Walk on it and test to ensure that it is set well into place.
Can I lay pavers over concrete?
es! Natural stone pavers are great installed over concrete bases. If you have a stable concrete pad already installed, free of large cracks or big differences in height between sections, there are epoxy modified mortars that can be applied to the concrete and the paver set onto them for a rigid, durable and long lasting bond.
I’m using travertine / bluestone? Are the instructions different?
Travertine and bluestone can be installed in the same manner as instructed here.
What is the typical cost of stone patio paver installation (pavers range, installation labor cost?)
Natural stone paver pricing, whether granite, marble, limestone, travertine or bluestone range from $2.00 – $6.00 per square foot, or more depending on a variety of factors. To this will need to be added the price for labor to install the stone which is typically $5.00 – $10.00 per square foot. The cost for base material for laying pavers adds extra costs, such as quarry process (QP, or crusher run #400) that is about $20.00 per cubic yard, or ¾” clean washed stone (#57) that is roughly $35.00 per cubic yard. Sharp, concrete sand costs $20.00 per cubic yard as well. Prices for all building materials will vary by region, but an average 250 – 500 square foot finished patio can cost from $1,500 – $8,000 and up depending on size, complexity, stone selections and other additional details.

