What is Damp Proofing and
Why Do You Need It?
Contractors are spreading the message that damp proofing is an extra, but worthwhile step in preserving the beauty and integrity of limestone installations, proven by thousands of well-preserved, historical buildings in the U.S. made with iconic limestone in particular.
It has the consistency of cake batter, and it’s something that contractors are increasingly baking into some projects where limestone veneers, walls or pavers are in constant contact with water. As they do so, they are getting the word out that it’s an easy, go-to solution that will pay off in dividends.
Damp-proofing defined
The idea of damp proofing involves the creation of a durable barrier that prevents water from wicking through, and up to the surface of a stone. What used to be done with hot liquid asphalt and rubber is now greatly improved by the use of polymer-modified, cement-based coatings for masonry and concrete. The resulting coating is a sureproof method to control moisture on a building’s or a residence’s exterior foundation walls, retaining walls, walkways or other areas where limestone is in prolonged contact with water at or below grade.
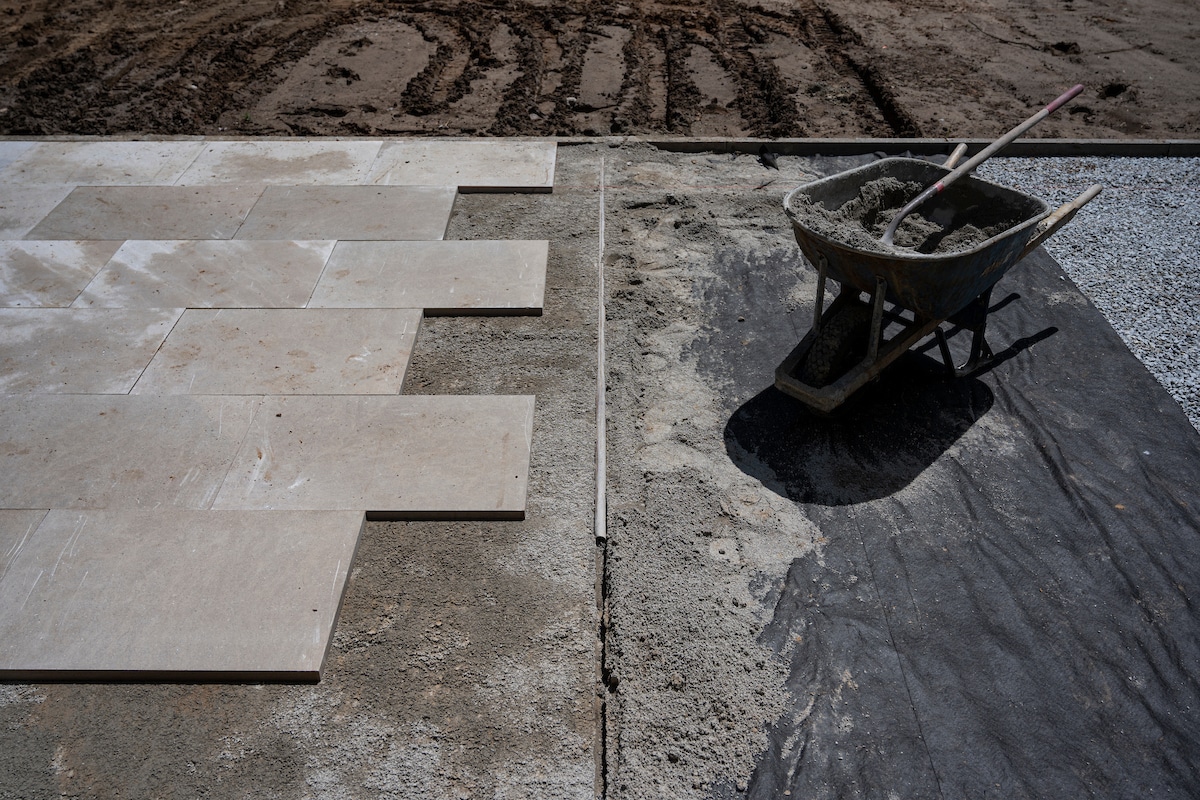
The backside of a limestone paver can get overlooked in the greater scheme of a project, but it’s important to know that it’s susceptible to some types of moisture—from humidity, dew or rain—retained in the earth in certain geographies, so it’s important to plan ahead.
When you are dealing with tried and true, homogeneous stone, such as Polycor’s INDIANA LIMESTONE – FULL COLOR BLEND™, the best practice is to keep these moisture sources in check. While Indiana Limestone is structurally stable with a psi strength that is equal to concrete, in places where a sand bed carries high alkalinity or soluble salt content, the paver absorbs that sand moisture and will stay in the stone. This has the potential to cause discoloration, creating a mottled appearance, giving the stone an uneven shading, whereas in normal conditions the limestone retains its even tonality.
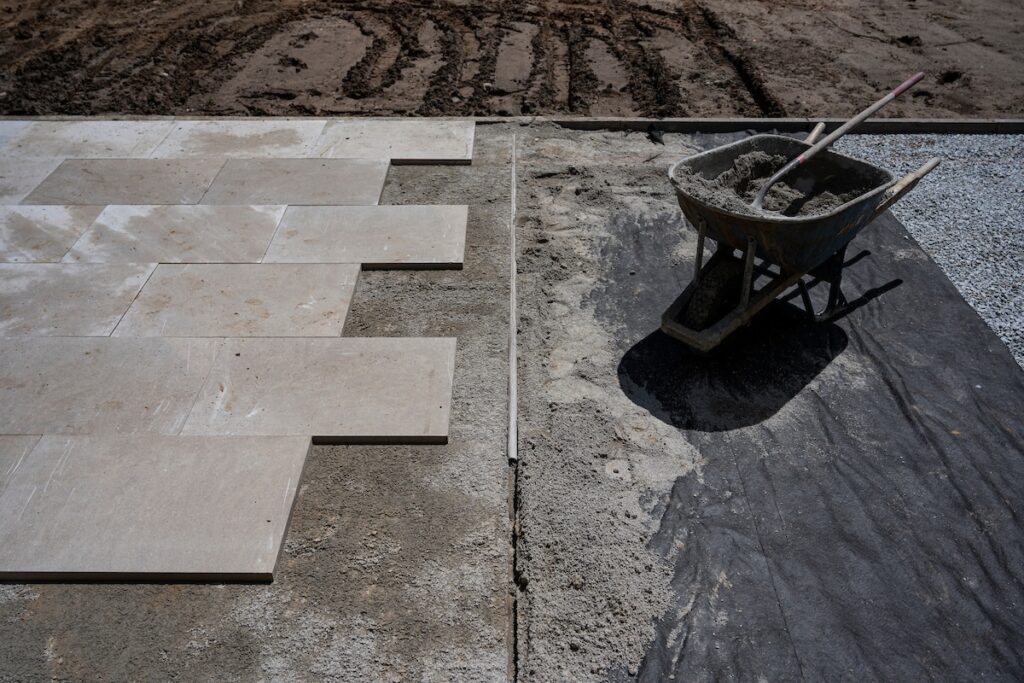
Applied damp proofing creates a barrier between the stone and groundwater that also inhibits the development of efflorescence, a term often heard used in concrete, but also relevant to stone masonry. Commonly referred to as “efflo”, the term refers to light surface discoloration resulting from moisture picking up dissolved chemicals from soils or concrete walls and depositing them at or below the stones surface in the form of a visible, white powder. More about concrete vs natural stone here.
Indeed, damp proofing has been used in many high-profile projects that have featured Polycor’s Indiana limestone. Although it’s not a new technique, it’s relatively new to some contractors and hardscapers. But as they learn more about it, contractors are conveying to their clients that damp proofing is an extra, but necessary step in preserving the beauty and integrity of natural limestone whether it’s used for a patio, walkway or the base layer of a veneer wall.
LEARN MORE ABOUT THIN STONE VENEER INSTALLATION
This quick video demonstrates the damp proofing process.
Some contractors have experienced resistance from clients about damp proofing and might see it as a pain point: an extra day of work for them and extra cost for clients. This is when the old saying “an ounce of prevention is worth a pound of cure” is well used. The actual process is not all that difficult. Let’s run through the procedure quickly to illustrate the steps to damp proofing.
Calculate Square Footage
Before choosing the damp proofing product be sure to determine the square footage of the stone requiring treatment. Keep in mind that the back, and sometimes the edges of the stones will need an application. Add an extra 10 – 15% to the total to ensure enough product. Typical coverage ranges from 250 – 400 square feet per 50 pound bag of product.
Choose The Product
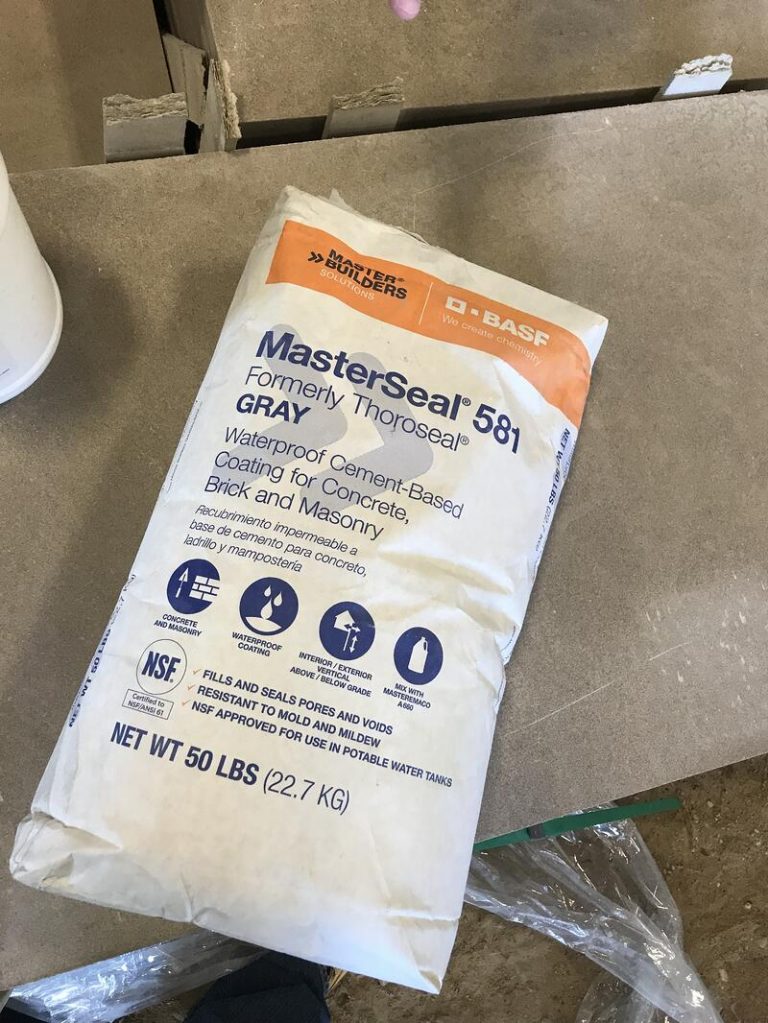
As with any other building material there are many damp proofing options on the market to choose from. Some products are two-part mixes with a dry and wet component that require mixing in specific proportions to achieve the right consistency, while others come premixed in dry form and only require the addition of water. One example is Masterseal 581, a portland cement-based coating for masonry that requires a polymer-modified liquid admixture of MasterEmaco A 660 and water, which creates a low maintenance and highly durable waterproof barrier. This product, formerly known as Thoroseal, used with Acryl 60 liquid polymer admixture, has been popular choices over the years. Colors range from white to gray.
Prepare Work Area
Set up a work area on the jobsite near where the stone to be dampproofed is staged. Using sawhorses, pallets or a tarped, clean area on the ground create a stable work surface where multiple stones can be laid out and treated simultaneously. The goal is to easily access the stones while applying the damp proofing and get into a good rhythm before the product begins curing.
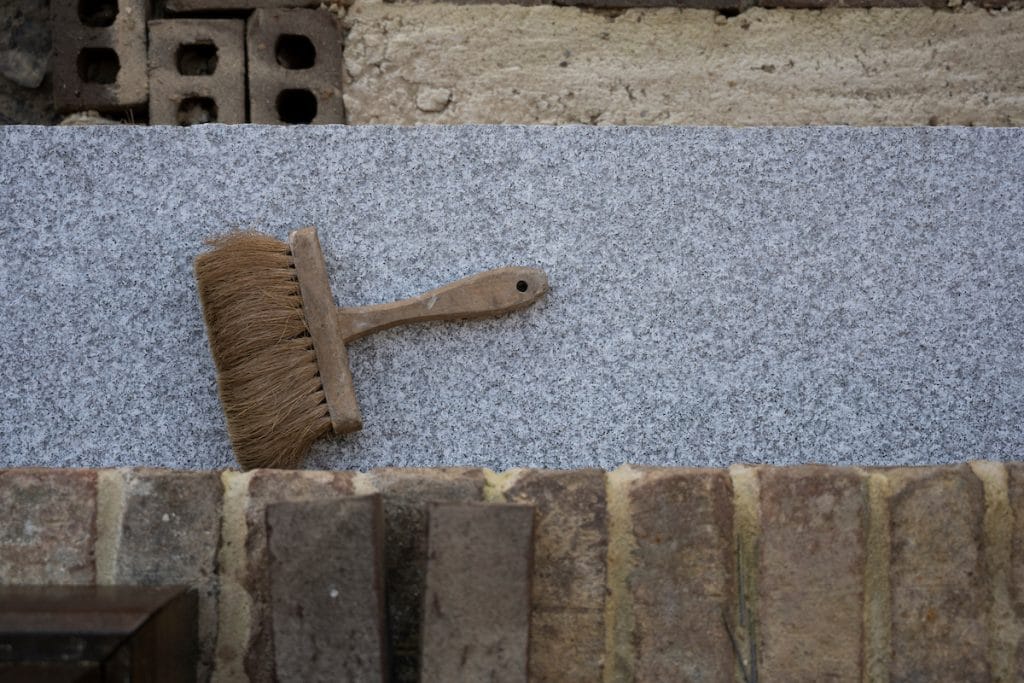
Tools Needed
- Masonry Brushes
- 5 gallon bucket for mixing
- Mixing paddle
- Drill
- Clean water
- Pump sprayer
Mixing
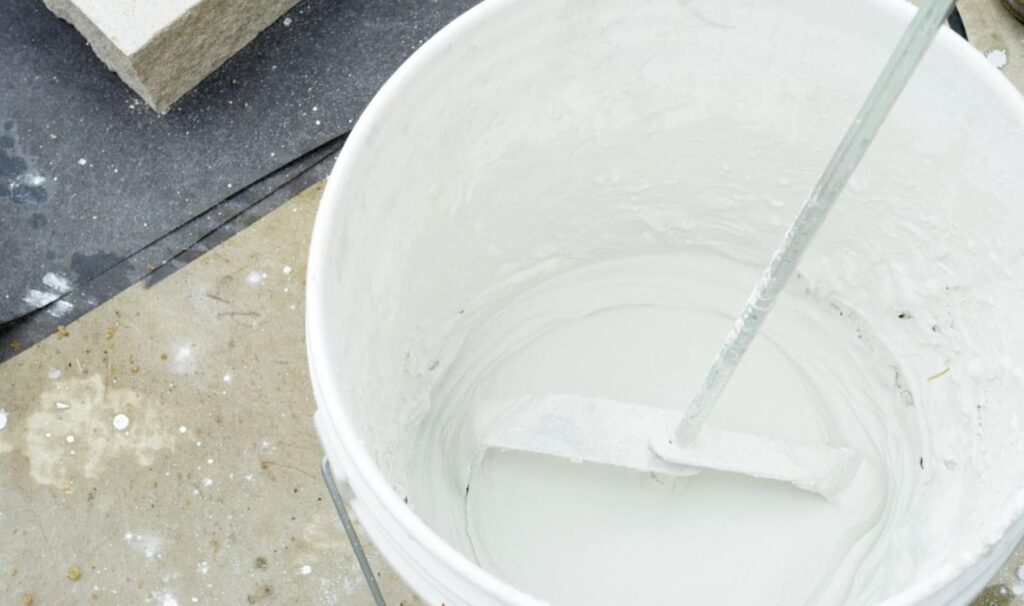
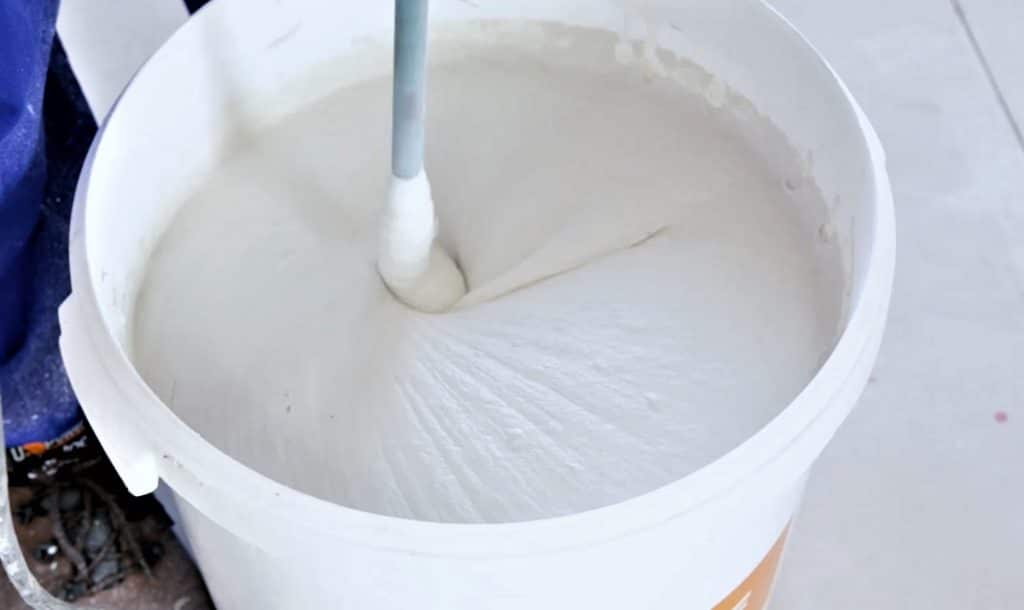
Follow manufacturers instructions. If using a two-part damp proofing product with polymer-modified liquid admixture such as MasterSeal 581, mix one part MasterEmaco A660 to three parts water and stir, then gradually add the MasterSeal 581 powder to the bucket. Mix thoroughly with a mixing paddle attached to a drill set at slow speed for 5 minutes. Let the material rest and slake for 10 minutes to completely wet out the powder component. After resting, mix for an additional quick 30 seconds until it has the consistency of a lump-free, heavy cake batter. Adjust mix as necessary until desired consistency is achieved.
Surface Prep
Make sure the stone surfaces are clean and sound, removing any residual dust or debris from the stone. Lightly dampen the surface of the stone with a pump sprayer prior to the application of the damp proofing to improve the bond and brushability of the product.
Application
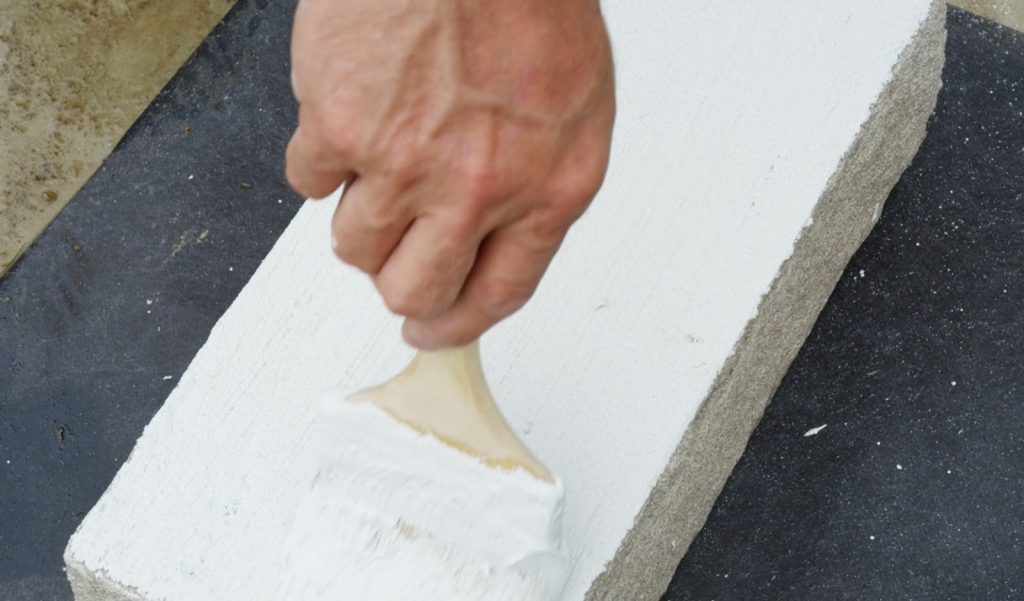
Apply damp proofing to the stone with a masonry brush filling all pores and voids. Finish the surface with a long, smooth stroke for a flat, even coating. Pot life is about 60-90 minutes depending on outside temperatures. High temperatures will reduce the open working time. Allow to cure for 24 hours before installing the damp proofed stone.
Polycor keenly promotes the use of damp proofing in technical literature and the Indiana Limestone Institute of America, which is dedicated to the appreciation, history, and use of Indiana Limestone, continues to endorse damp proofing as well.
“Where Indiana Limestone is used at grade, or where supported on concrete ledges or haunches, or on continuous angles, a back-coating of either cementitious waterproof stone backing or bituminous stone backing should be used,” a passage from the Indiana Limestone Handbook states.
Damp proof is sold commercially and is available in several colors. Typically contractors prefer the gray, which blends a little more with the beige and grayish tones of the limestone. With either choice, it’s application is straightforward. There’s no need for master masonry skills to apply it, but it is time well-spent in consideration of the many years of use the limestone will receive.
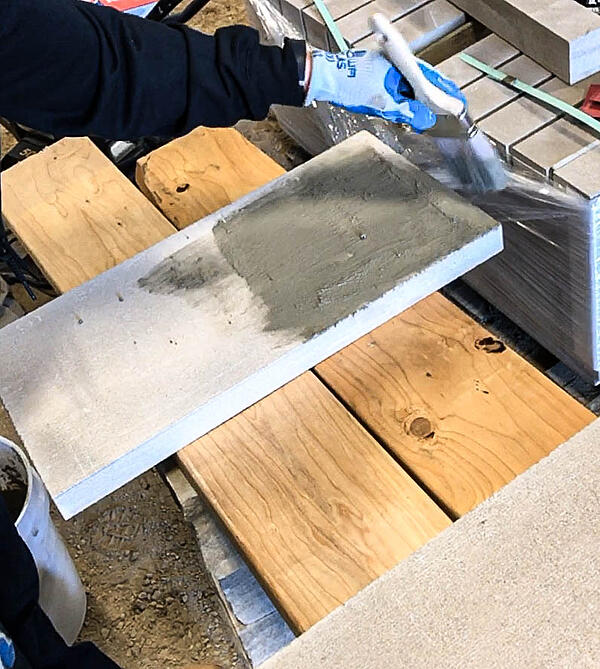
The Indiana Limestone Institute of America further states in its handbook: “The stone backing material should be applied to all unexposed surfaces of the stone up to 1’-0” above grade including joints…..These coatings should be applied in the field, to assure their undamaged condition.”
This extra step of damp proofing that contractors take with natural limestone is one that customers are going to thank them, and themselves, for later on down the road. And remember that the best offense is a good defense, so be sure to plan ahead and take the extra time to ensure a long-lasting, aesthetically pleasing limestone installation.
Looking for more details related to damp proofing or technical information on installation of natural stone products?
Connect with a Hardscapes and Masonry Technical Specialist


