Build a Backyard Granite Fire Pit in a Weekend
Not only does a fire pit add to the beauty of an outdoor living space, creating a cozy nook for gatherings or quiet contemplation, but it’s a feature that lets you enjoy relaxing in the great outdoors beyond the summer season.
Starting in early spring and well into the fall, a toasty fire pit serves as an anchor bringing friends and family together and a great reason to unplug and connect over a glass of wine or gooey marshmallow s’mores. It’s also the perfect spot to pull up a comfy chair after work and take in the sounds of the season with a good book.
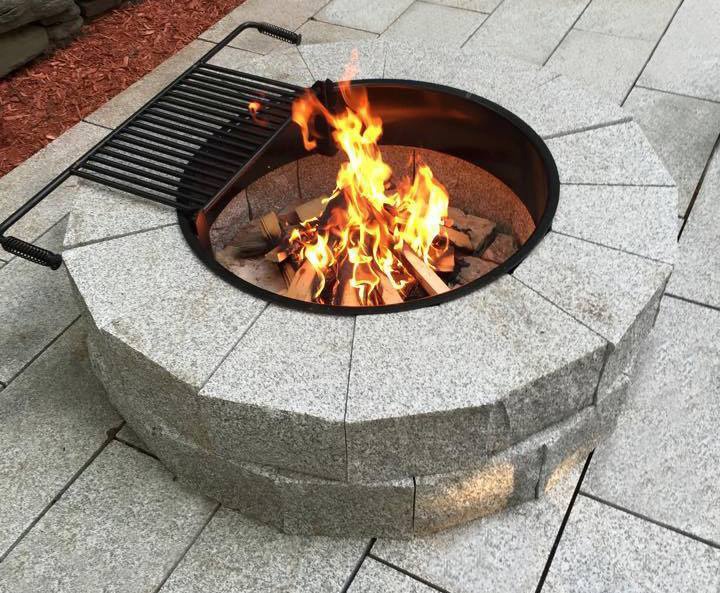
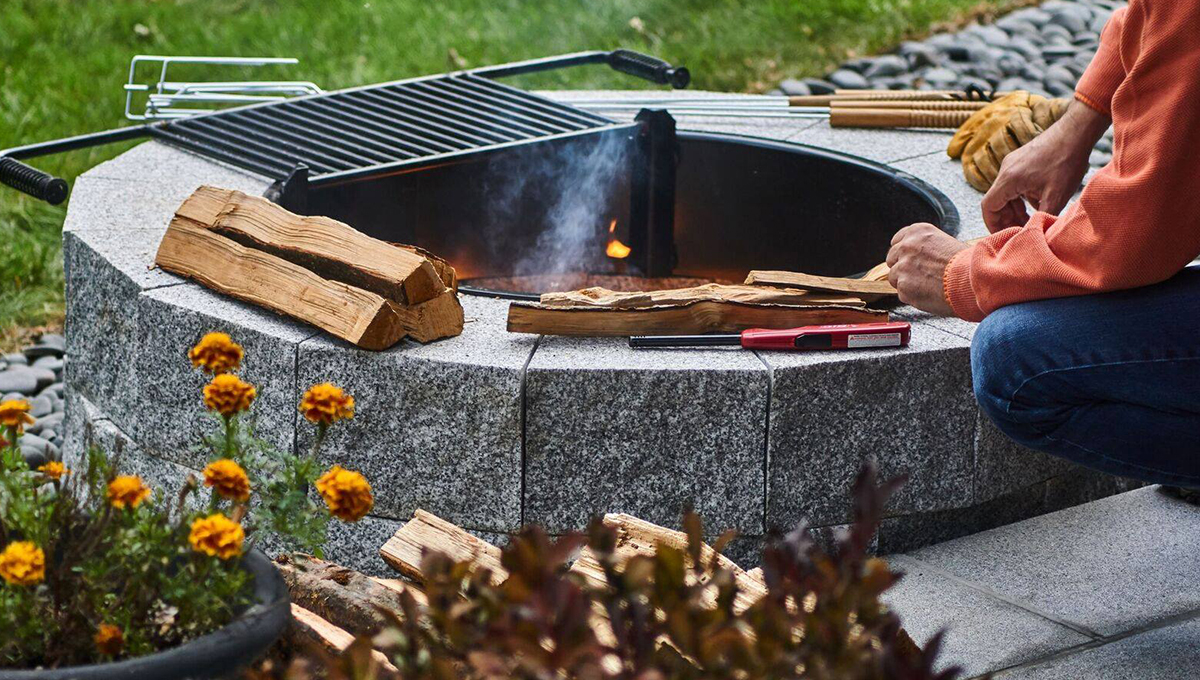
And with Polycor’s easy-to-assemble granite fire pit kit, you can create an instant entertaining space in one afternoon. Featuring solid granite blocks that are easy for both contractors and homeowners to assemble, you can lay it out in the morning and you’ll be roasting s’mores by dark.
Polycor Hardscapes & Masonry 48-inch diameter, two-tier granite fire pit comes with a metal ring insert that caps off the granite nicely, and you have the option of purchasing a cooking grate to extend its usefulness. Offered in our historic American stones, CAROLINA CORAL™ granite quarried in North Carolina, and classic WOODBURY GRAY® granite quarried in Vermont, the blocks have a thermal finish on top for a smooth surface to set plates, drinks and utensils. The natural split face finish around the vertical sides lends an organic, textured surface that highlights the unique grain and minerals.
WHY CHOOSE GRANITE OVER BRICK OR CONCRETE?
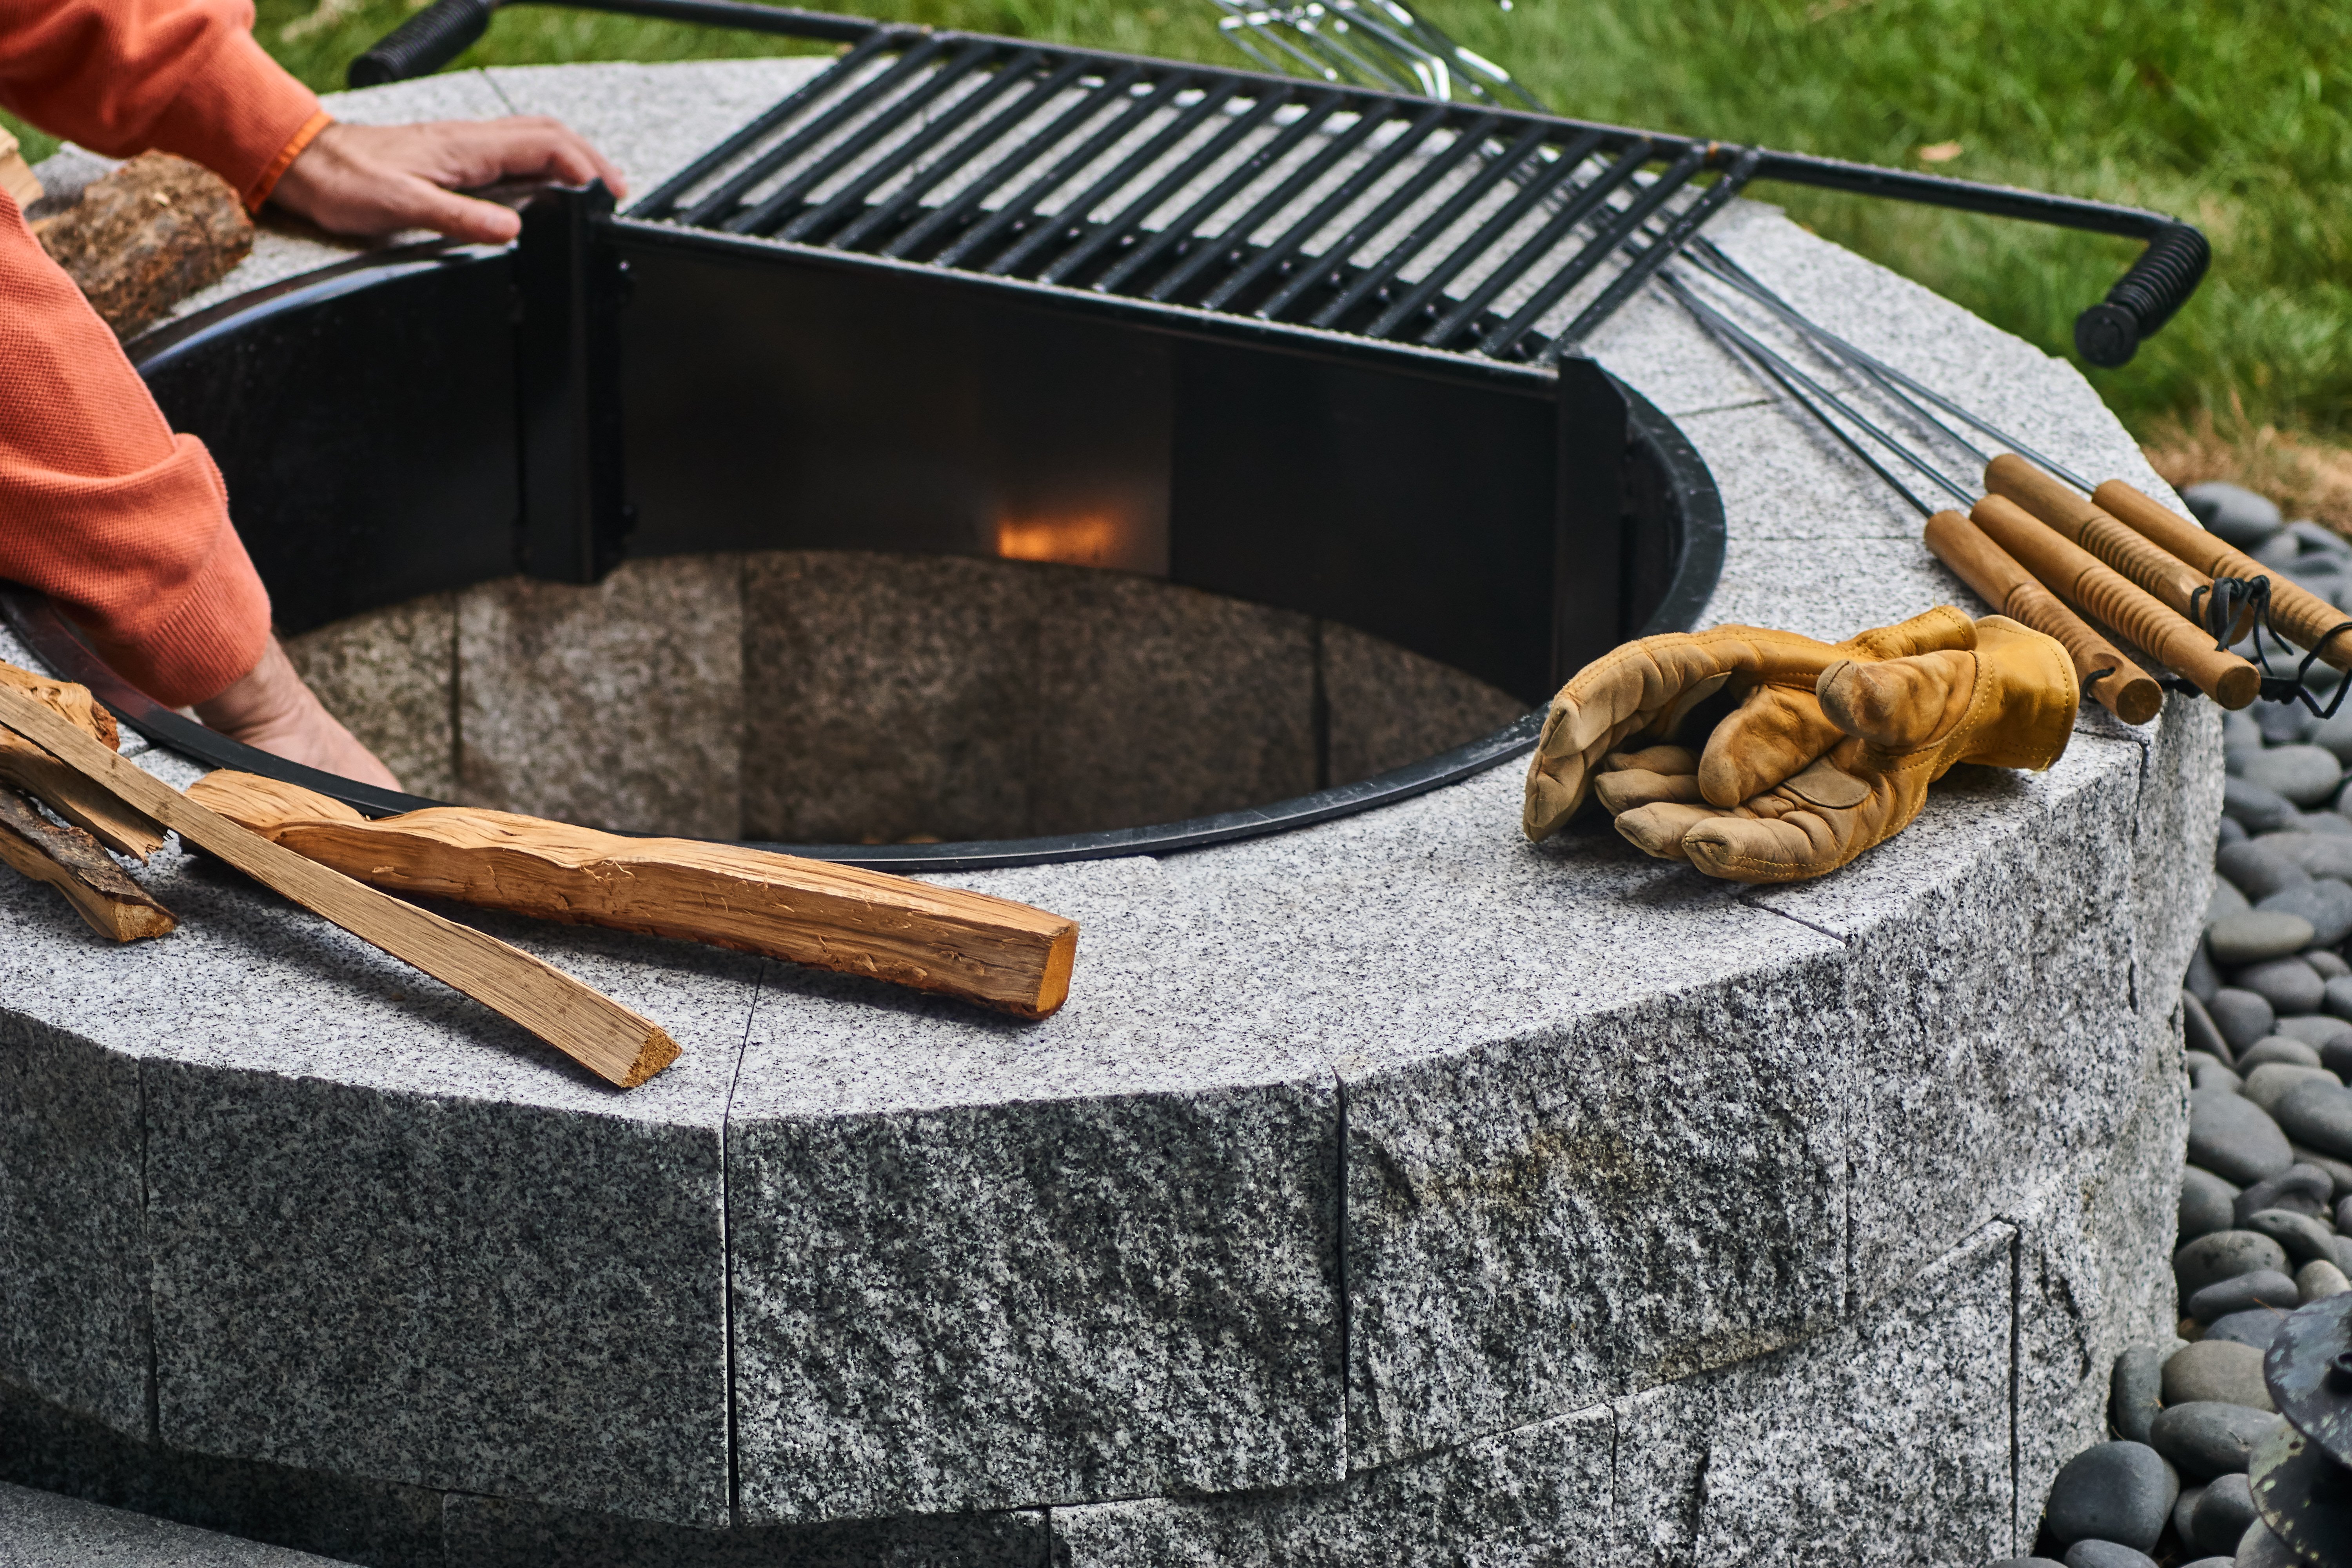
Brick and precast concrete are two other materials typically considered for fire pits, but there are several reasons to go with granite instead. Unlike brick and concrete, granite blocks are naturally durable and will withstand the freeze-thaw cycle. They are also virtually maintenance free.
The DIY firepit kit is made from 7″ thick blocks of solid granite, so there are far less pieces required than with a brick or concrete fire pit. Also, no mortar or adhesive is required – the blocks are dry stacked with their own weight holding them tight together. Less stone, less time, and best of all, less work for you.
A GUIDE TO FIRE PIT INSTALLATION
Our step-by step instructions will make assembling your fire pit easy and accurate.
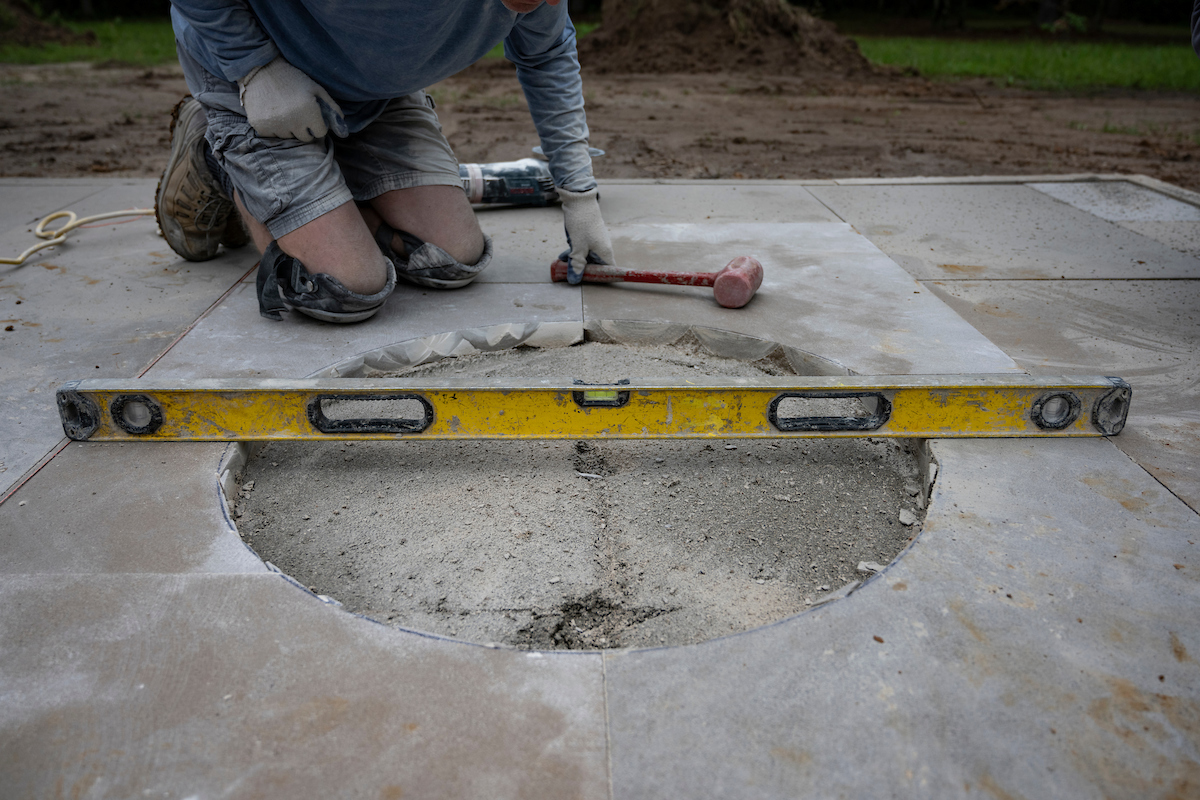
In this example our featured mason, John Syrjala from Charleston, South Carolina will demonstrate a firepit installation over a new installation of Polycor’s INDIANA LIMESTONE – FULL COLOR BLEND™paver patio. The natural stone slab paving provides a solid, level surface for building the firepit on top of. Conversely, if no paver material is present then the blocks will be installed at grade, atop a compacted aggregate base.
1. For an over-paver install such as this, John first marked out a circle slightly larger than the 30″ inside diameter of the firepit and made cuts in place with an angle grinder (or if desired, a gas cut off saw works well). If working with a fresh area of sod, then first dig an area approximately 4’-6” in diameter and at least 6” in depth. Fill the area with processed gravel or mason sand, compacting until level. Then, dig a hole in the center of this circle approximately 12” in diameter and 24” deep and fill it with crushed stone. This will allow proper drainage during periods of rain. If there are existing pavers on an older patio, take out enough pavers in the middle of the circle to dig the required hole, then pitch the remainder of the pavers that are within the circle toward the hole for proper drainage.
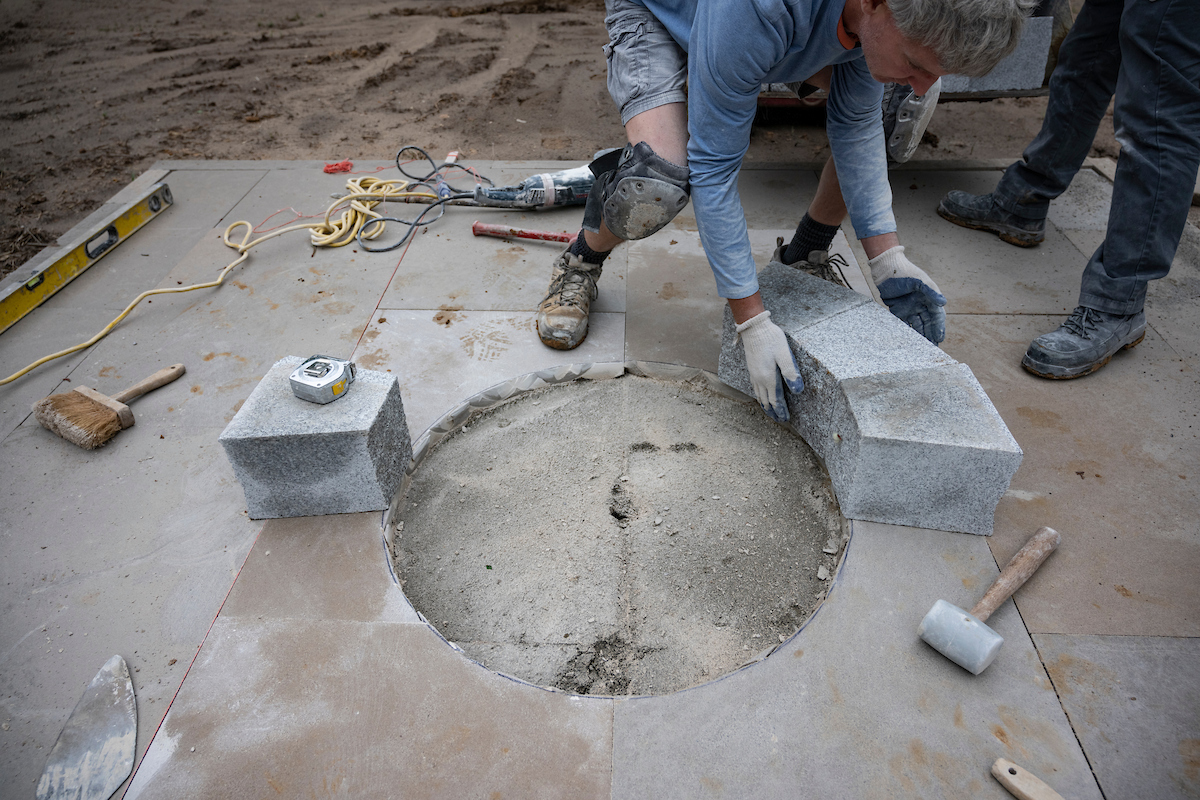
2. As the granite fire pit blocks are a natural stone product, there will be a slight variation in thickness, (still well within the standard industry guidelines for cut granite products). Take some time to sort through the blocks and make a group of sixteen that match thickness as closely as possible, reserving the most consistent thickness blocks for your top layer. The reason for this is that the bottom layer is your most flexible, in that you can adjust the gravel to create a level top surface on the blocks in preparation for adding the top layer (this applies to installations done on the ground, not over paving). It may be necessary to shim a piece for it to remain level. We recommend thin plastic shims which can be found at any local home center or mason supply store.
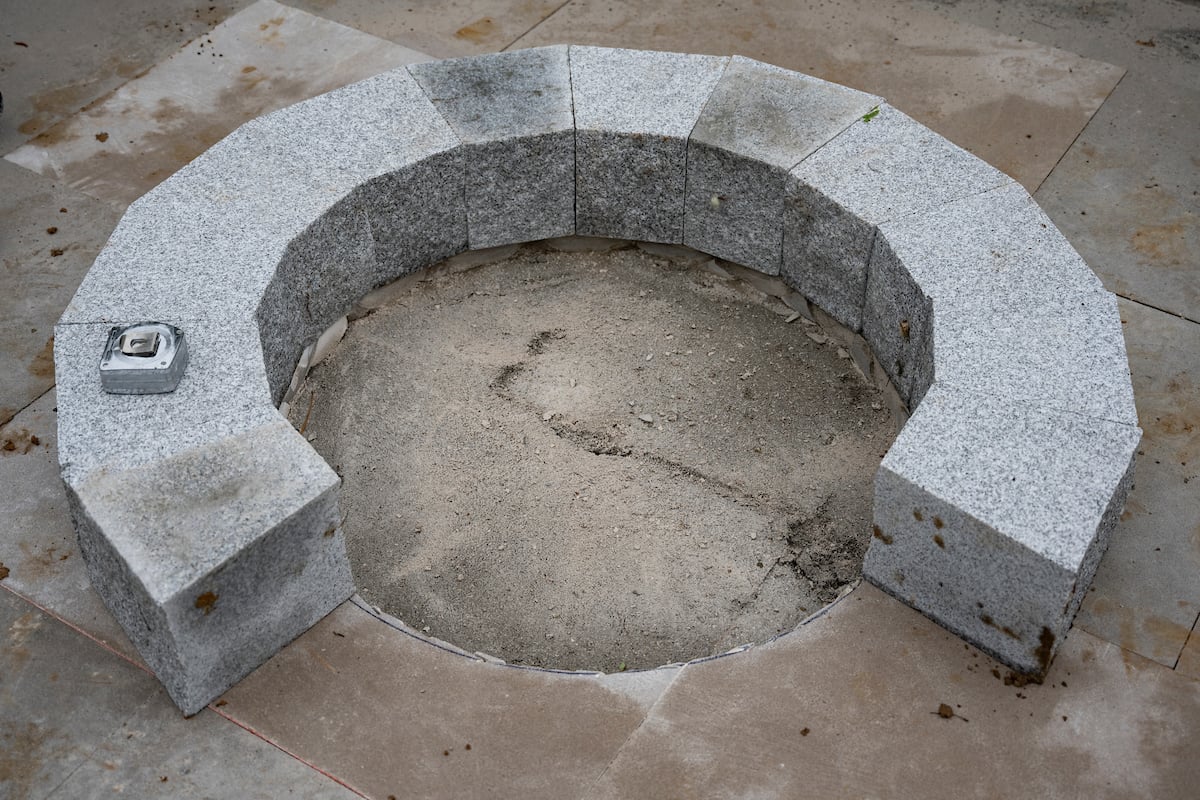
3. Using the metal ring as a guide, line up sixteen granite fire pit blocks around the ring, which will create a circle of granite with a 30” inside diameter. Adjust the fire pit blocks inward as needed to close up the ring and ensure they are fitting tightly together with minimal gaps, and that they are level. Then, remove the metal fire ring.
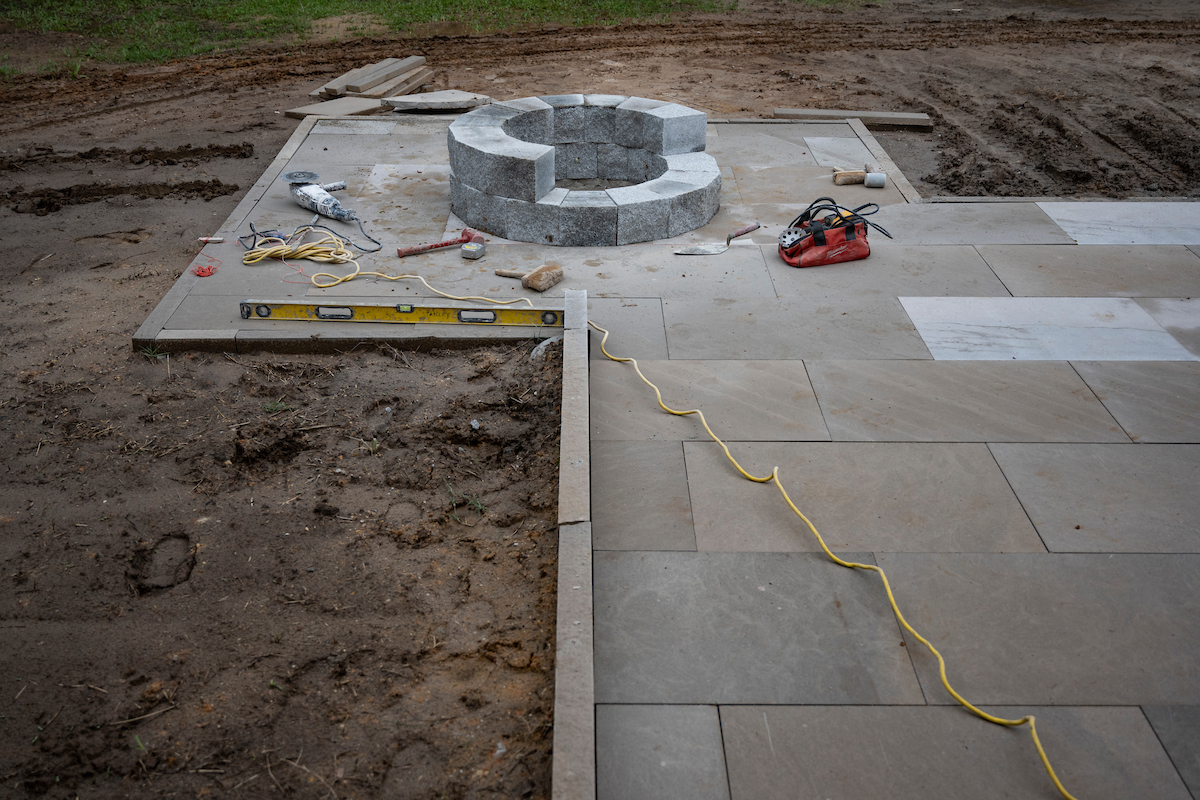
4. Install the second layer of fire pit blocks on top of the first layer, off-setting the joints and overlapping the blocks as you go to form a solid bond. Install the metal fire ring into this second layer, to ensure that you have a good tight fit and adjust as necessary.
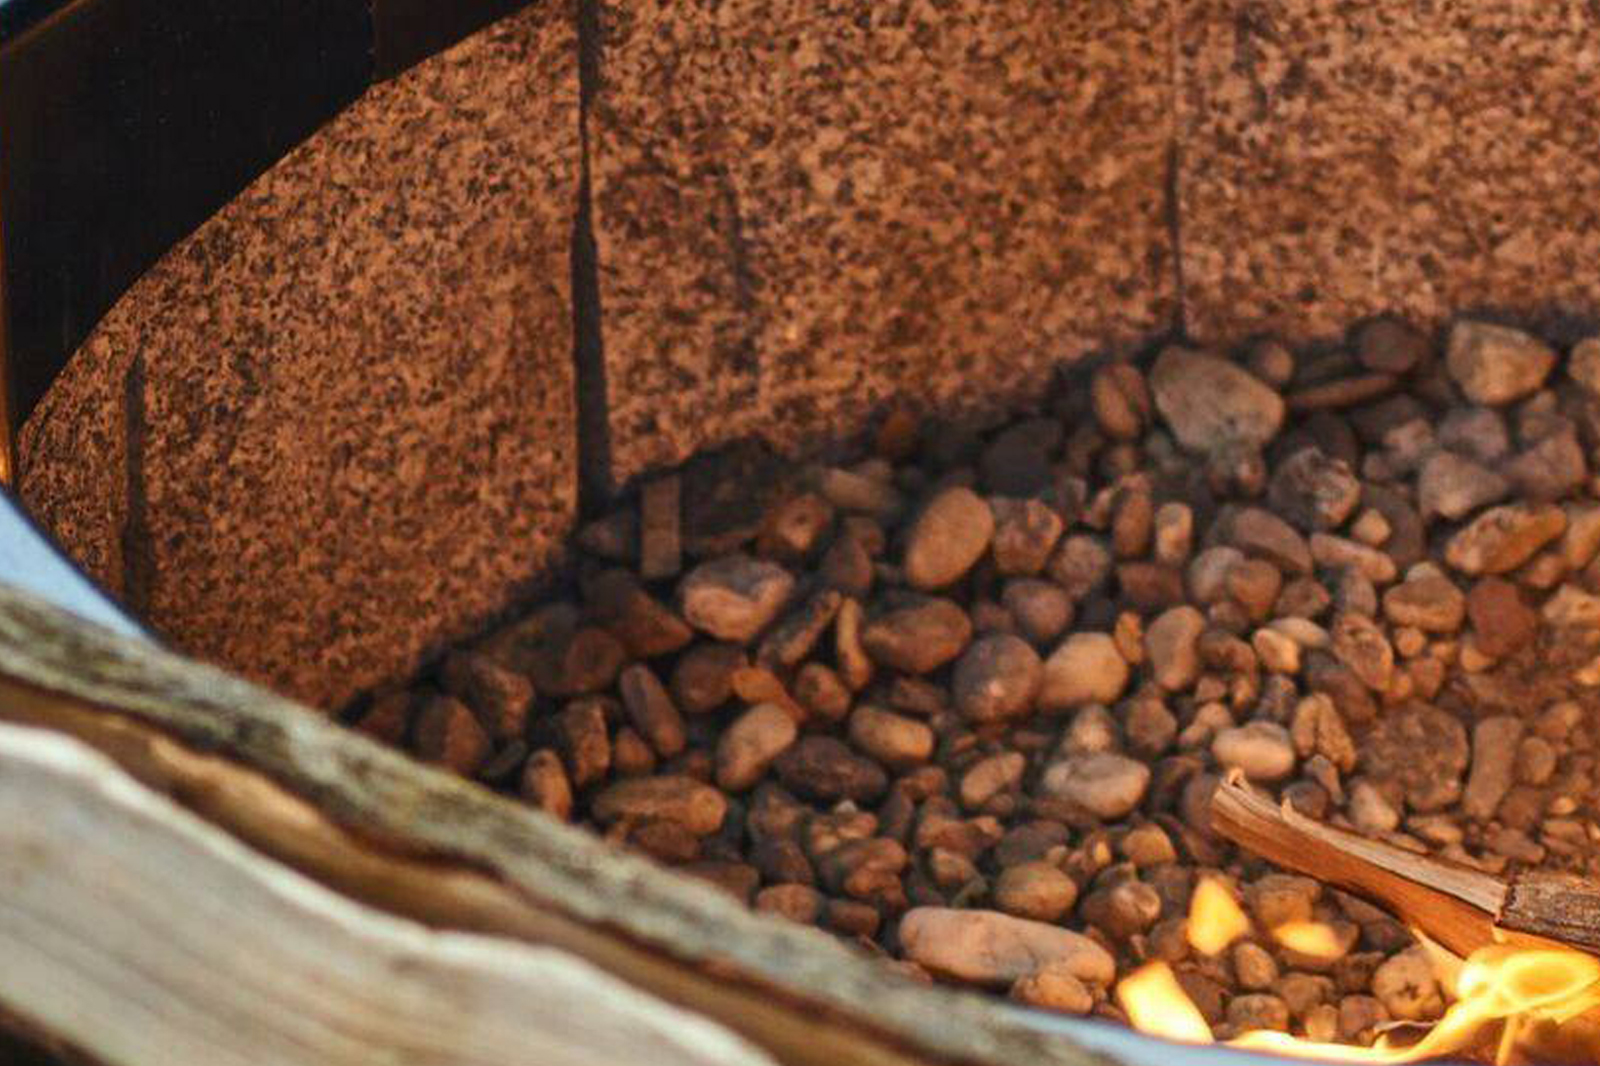
5. The interior of the fire pit will need to be filled with processed gravel or mason sand. Compact the layers of gravel every four inches or so, until you reach the bottom of the flange of the metal fire ring, readjusting stones as needed to create a good fit.
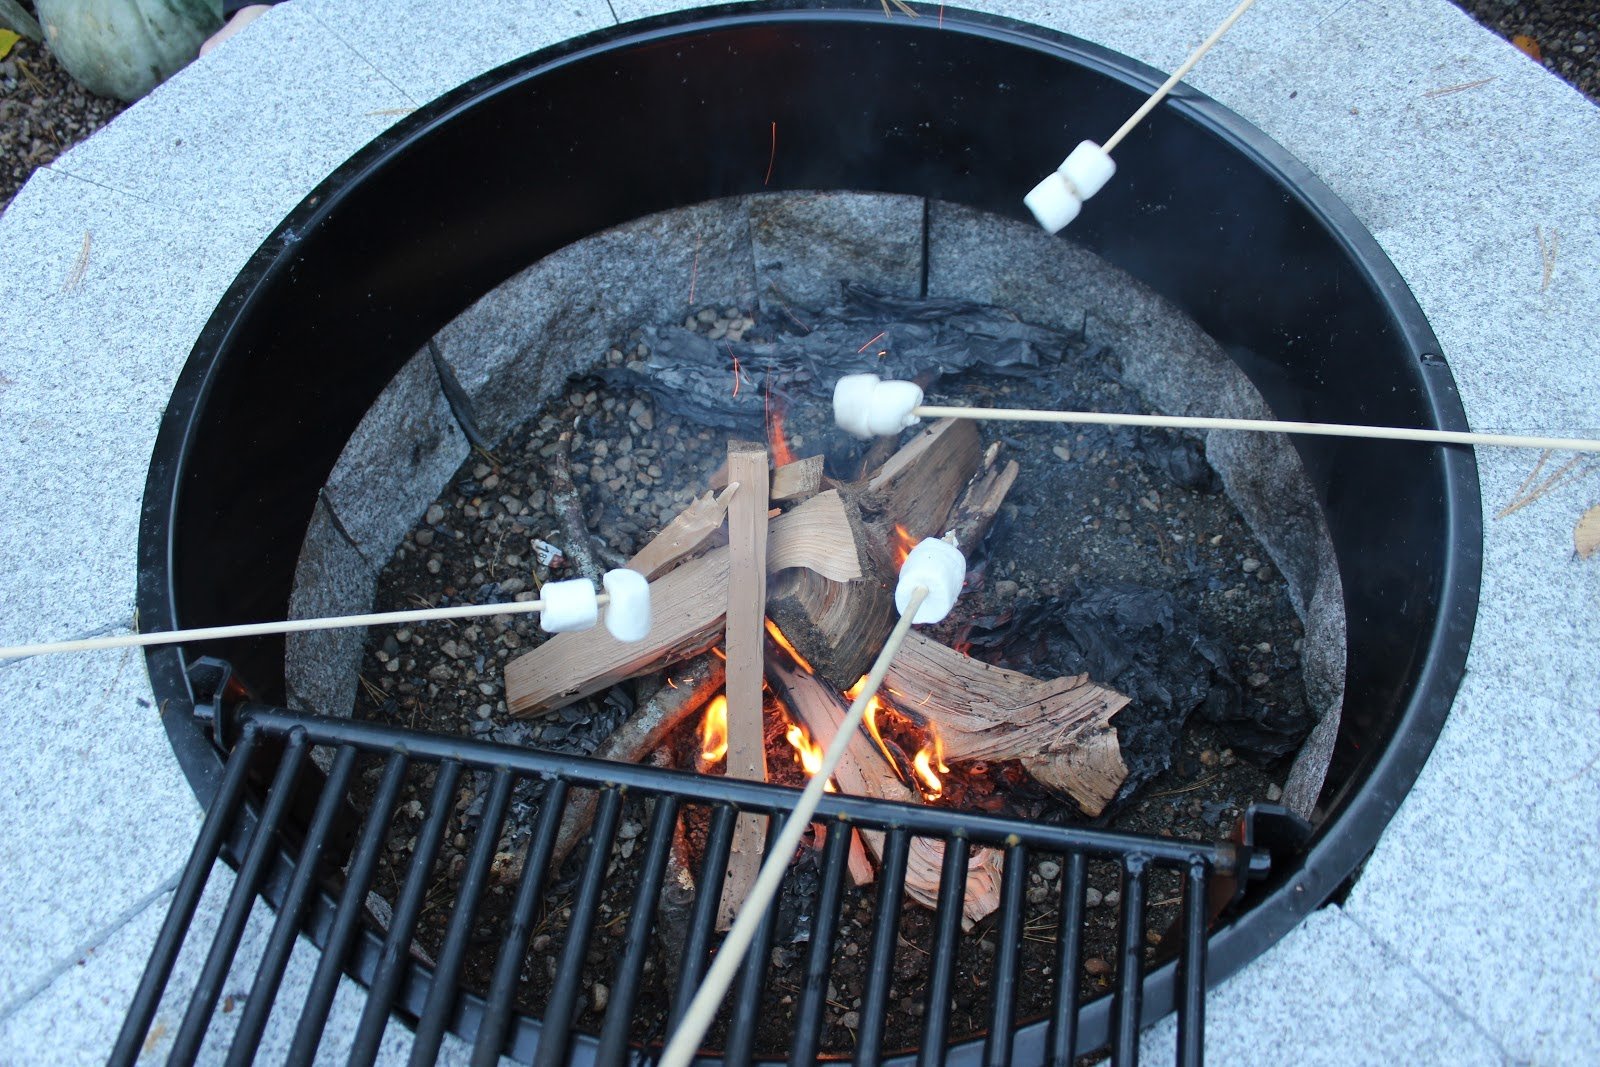
6. Light a fire and get the s’mores ready. Enjoy!
No matter the season, adding an outdoor fire pit will be the focal point of your outdoor living space and give you an excuse to enjoy the great outdoors of your own back yard, all year round.
