DIY Soapstone Countertops: How To Fabricate and Install Them Safely (and Easily)
Being an avid DIY’er is both a blessing and a curse.
Nolazy days kicking back and soaking in the sunshine – instead they’re spent wiping the sweat equity from my brow. But there’s still a few days sprinkled in here and there for a quick dip at the beach to rinse off that stubborn sawdust.
Outdoor projects are usually top of the list with warmer temps favorable for exterior hardscaping, making for great curb appeal. Going in and out of the house to make cuts, sand edges here or there or paint a door is always more pleasant when it’s not freezing outside too. Unloading and installing cabinets for kitchen remodels also benefit from dry, sunny summer days. And if you’re into taking on some countertops for those cabinets I can’t think of any better DIY counter surface than soapstone.
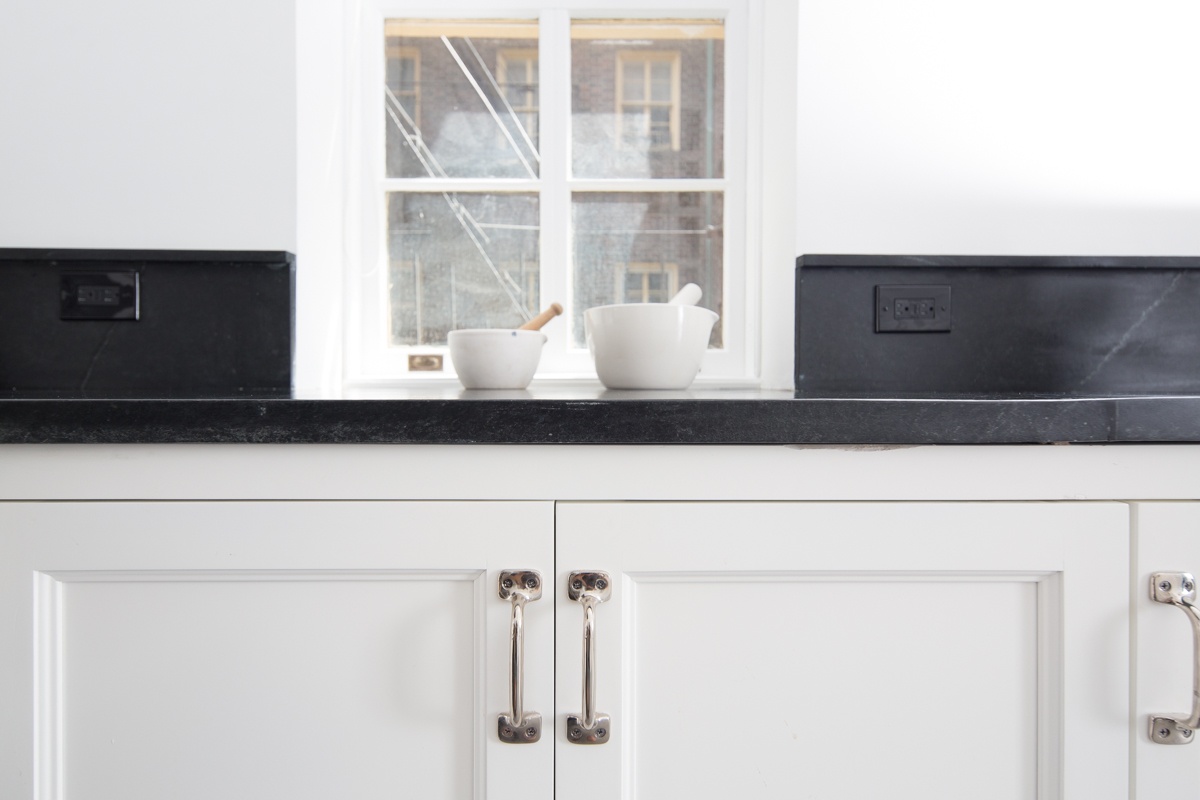
There’s no other stone with as much mystique and questions revolving around it as soapstone. Whether it’s debates on what exactly it’s made of (no, not soap), how to enhance and darken it, whether or not it needs to be sealed or how it holds up, there’s no shortage of topics to discuss about soapstone. But one of the questions asked most often is how it’s cut and fabricated.
Does soapstone require any special tooling? Are there anytips ortricks to working with it? Can it be DIY’d? I get these questions all the time, especially the last one. The answer is Yes! It can absolutely be done, but as with all DIY projects safety should always come first. Aside from soapstone weighing nearly 20 lbs a square foot, which can quickly add up to some serious lifting, it’s important to know the potential risks. Last year we posted a great piece on a young, enthusiastic DIY couple who took on their own soapstone kitchen in DIY Soapstone Countertops? Yes They Did. See The Kitchen.
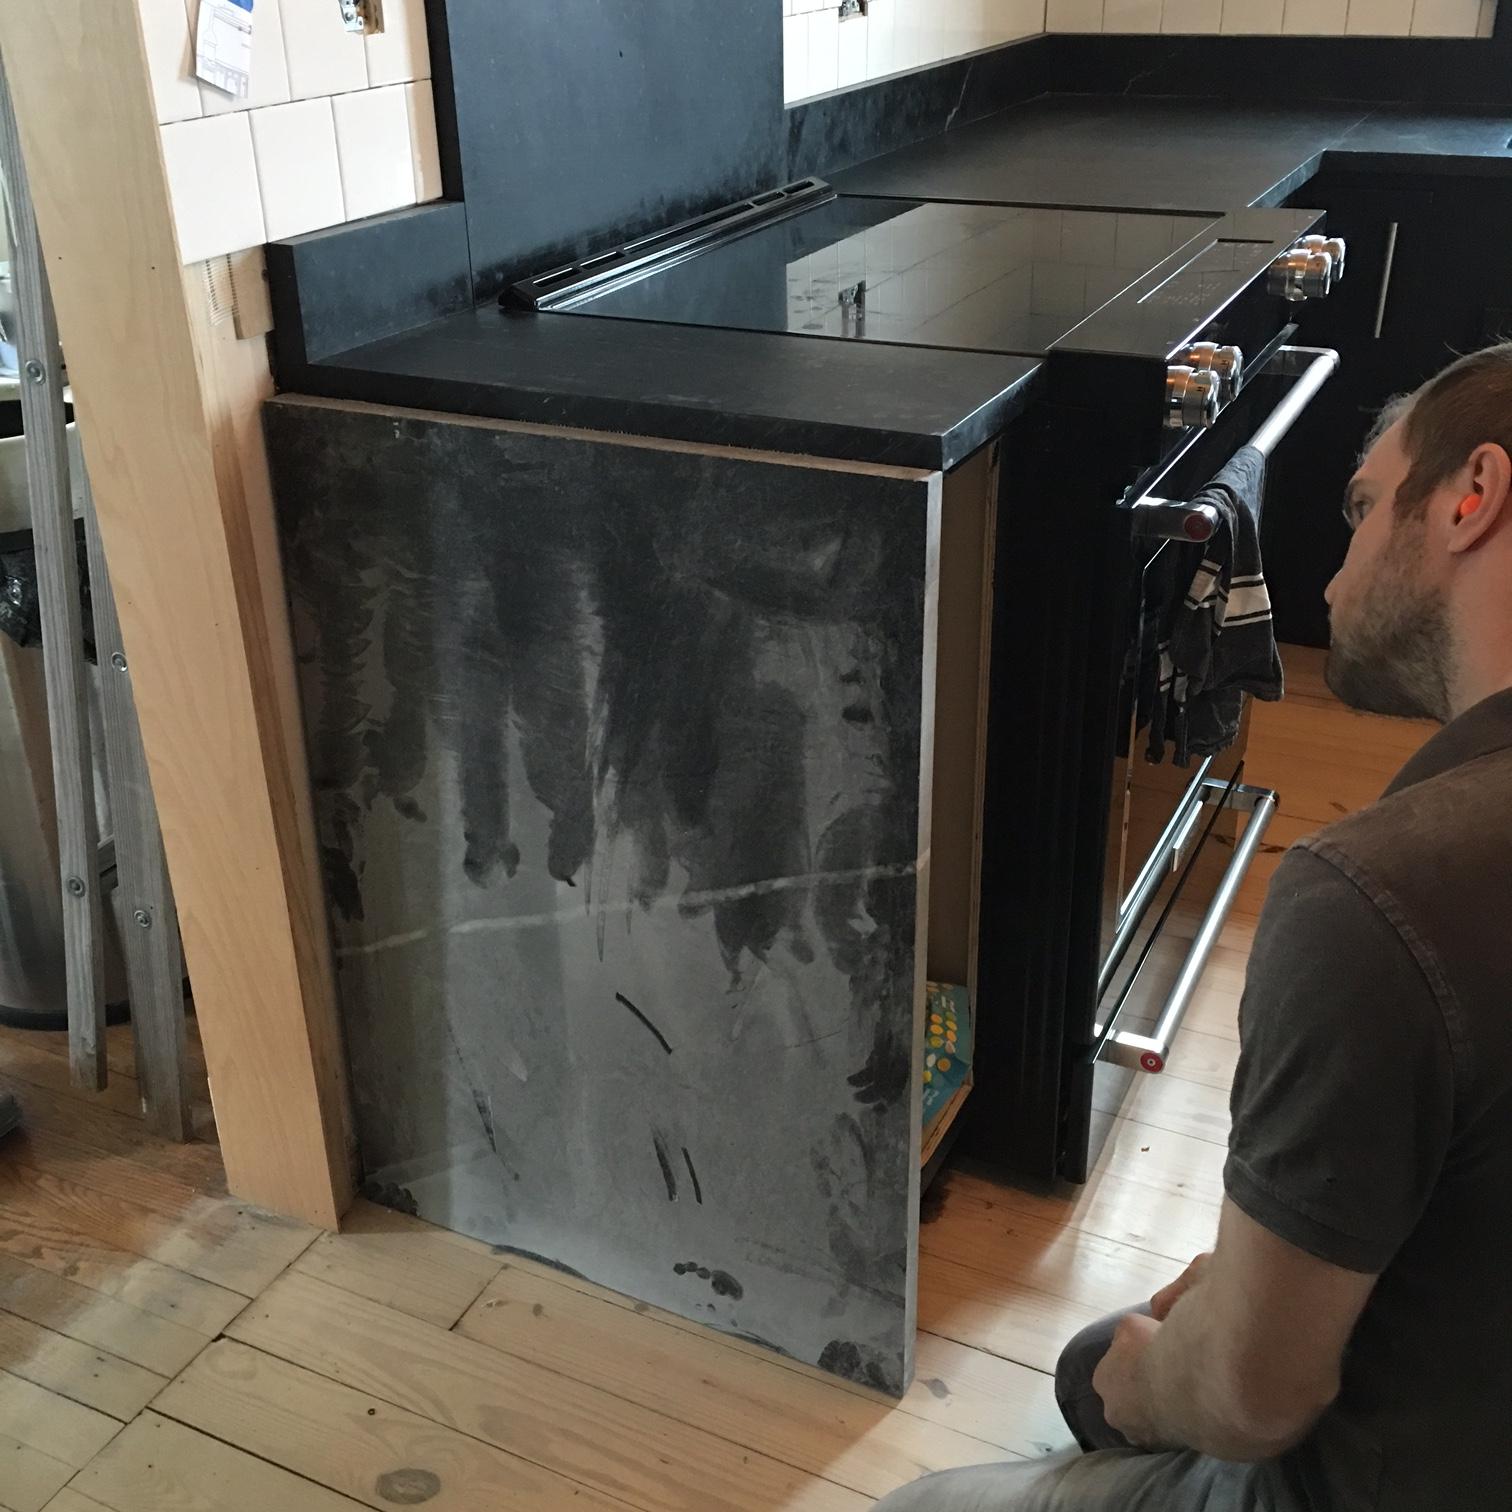
Since all of us DIY’ers are used to working with our hands and get excited to jump into a project it’s easy to forget to take the time to gear up with the proper safety equipment. When you need to do a quick second or third trim to get the right fit you might hold off putting on the safety glasses and dust mask but it’s important to take action to protect yourself first. That project might get put on hold unexpectedly because of a surprise trip to the hospital which we all could do without.
The Nitty Gritty on Dust
One thing you’ll notice if you visit your local stone fabrication shop is the majority of the work, if not all, is done with water. There’s several reasons for that. First of all it keeps the business end of the cutting and polishing tools cooled so they don’t overheat when ripping through all that hard and dense stone. Second, it helps achieve cleaner cuts and better finish work than going at it dry. Third, and most importantly, it keeps down the dust particles that inevitably goes airborne when grinding and sanding natural stone. (You don’t ever want to be breathing in dust of any construction material. Your lungs were meant for air, not particulate matter.) Soapstone is one of those materials that produces its fair share of dust, especially when DIY’ers aren’t using water to control it.
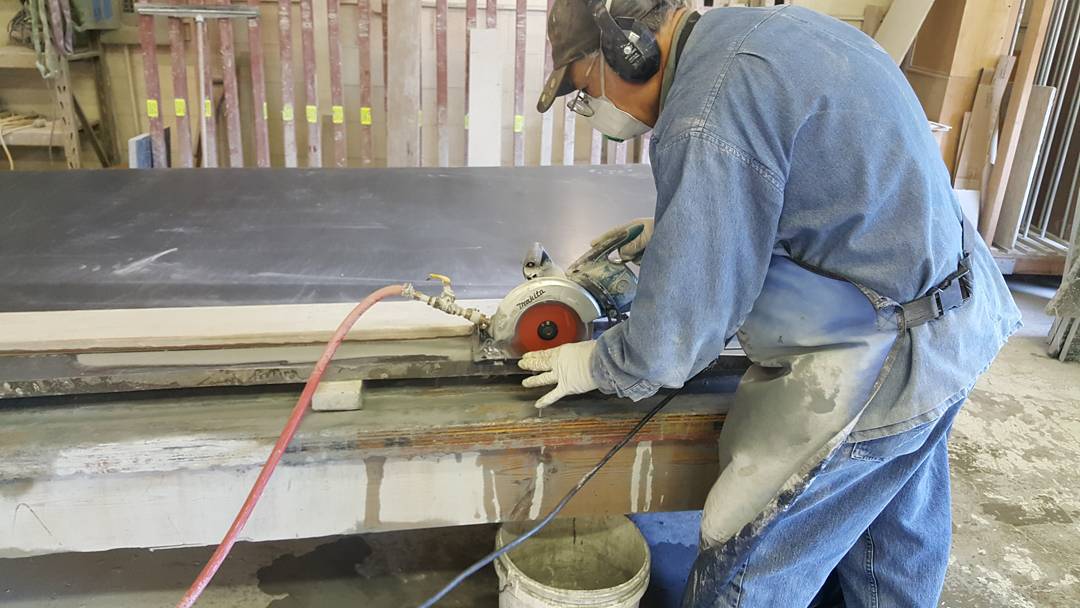
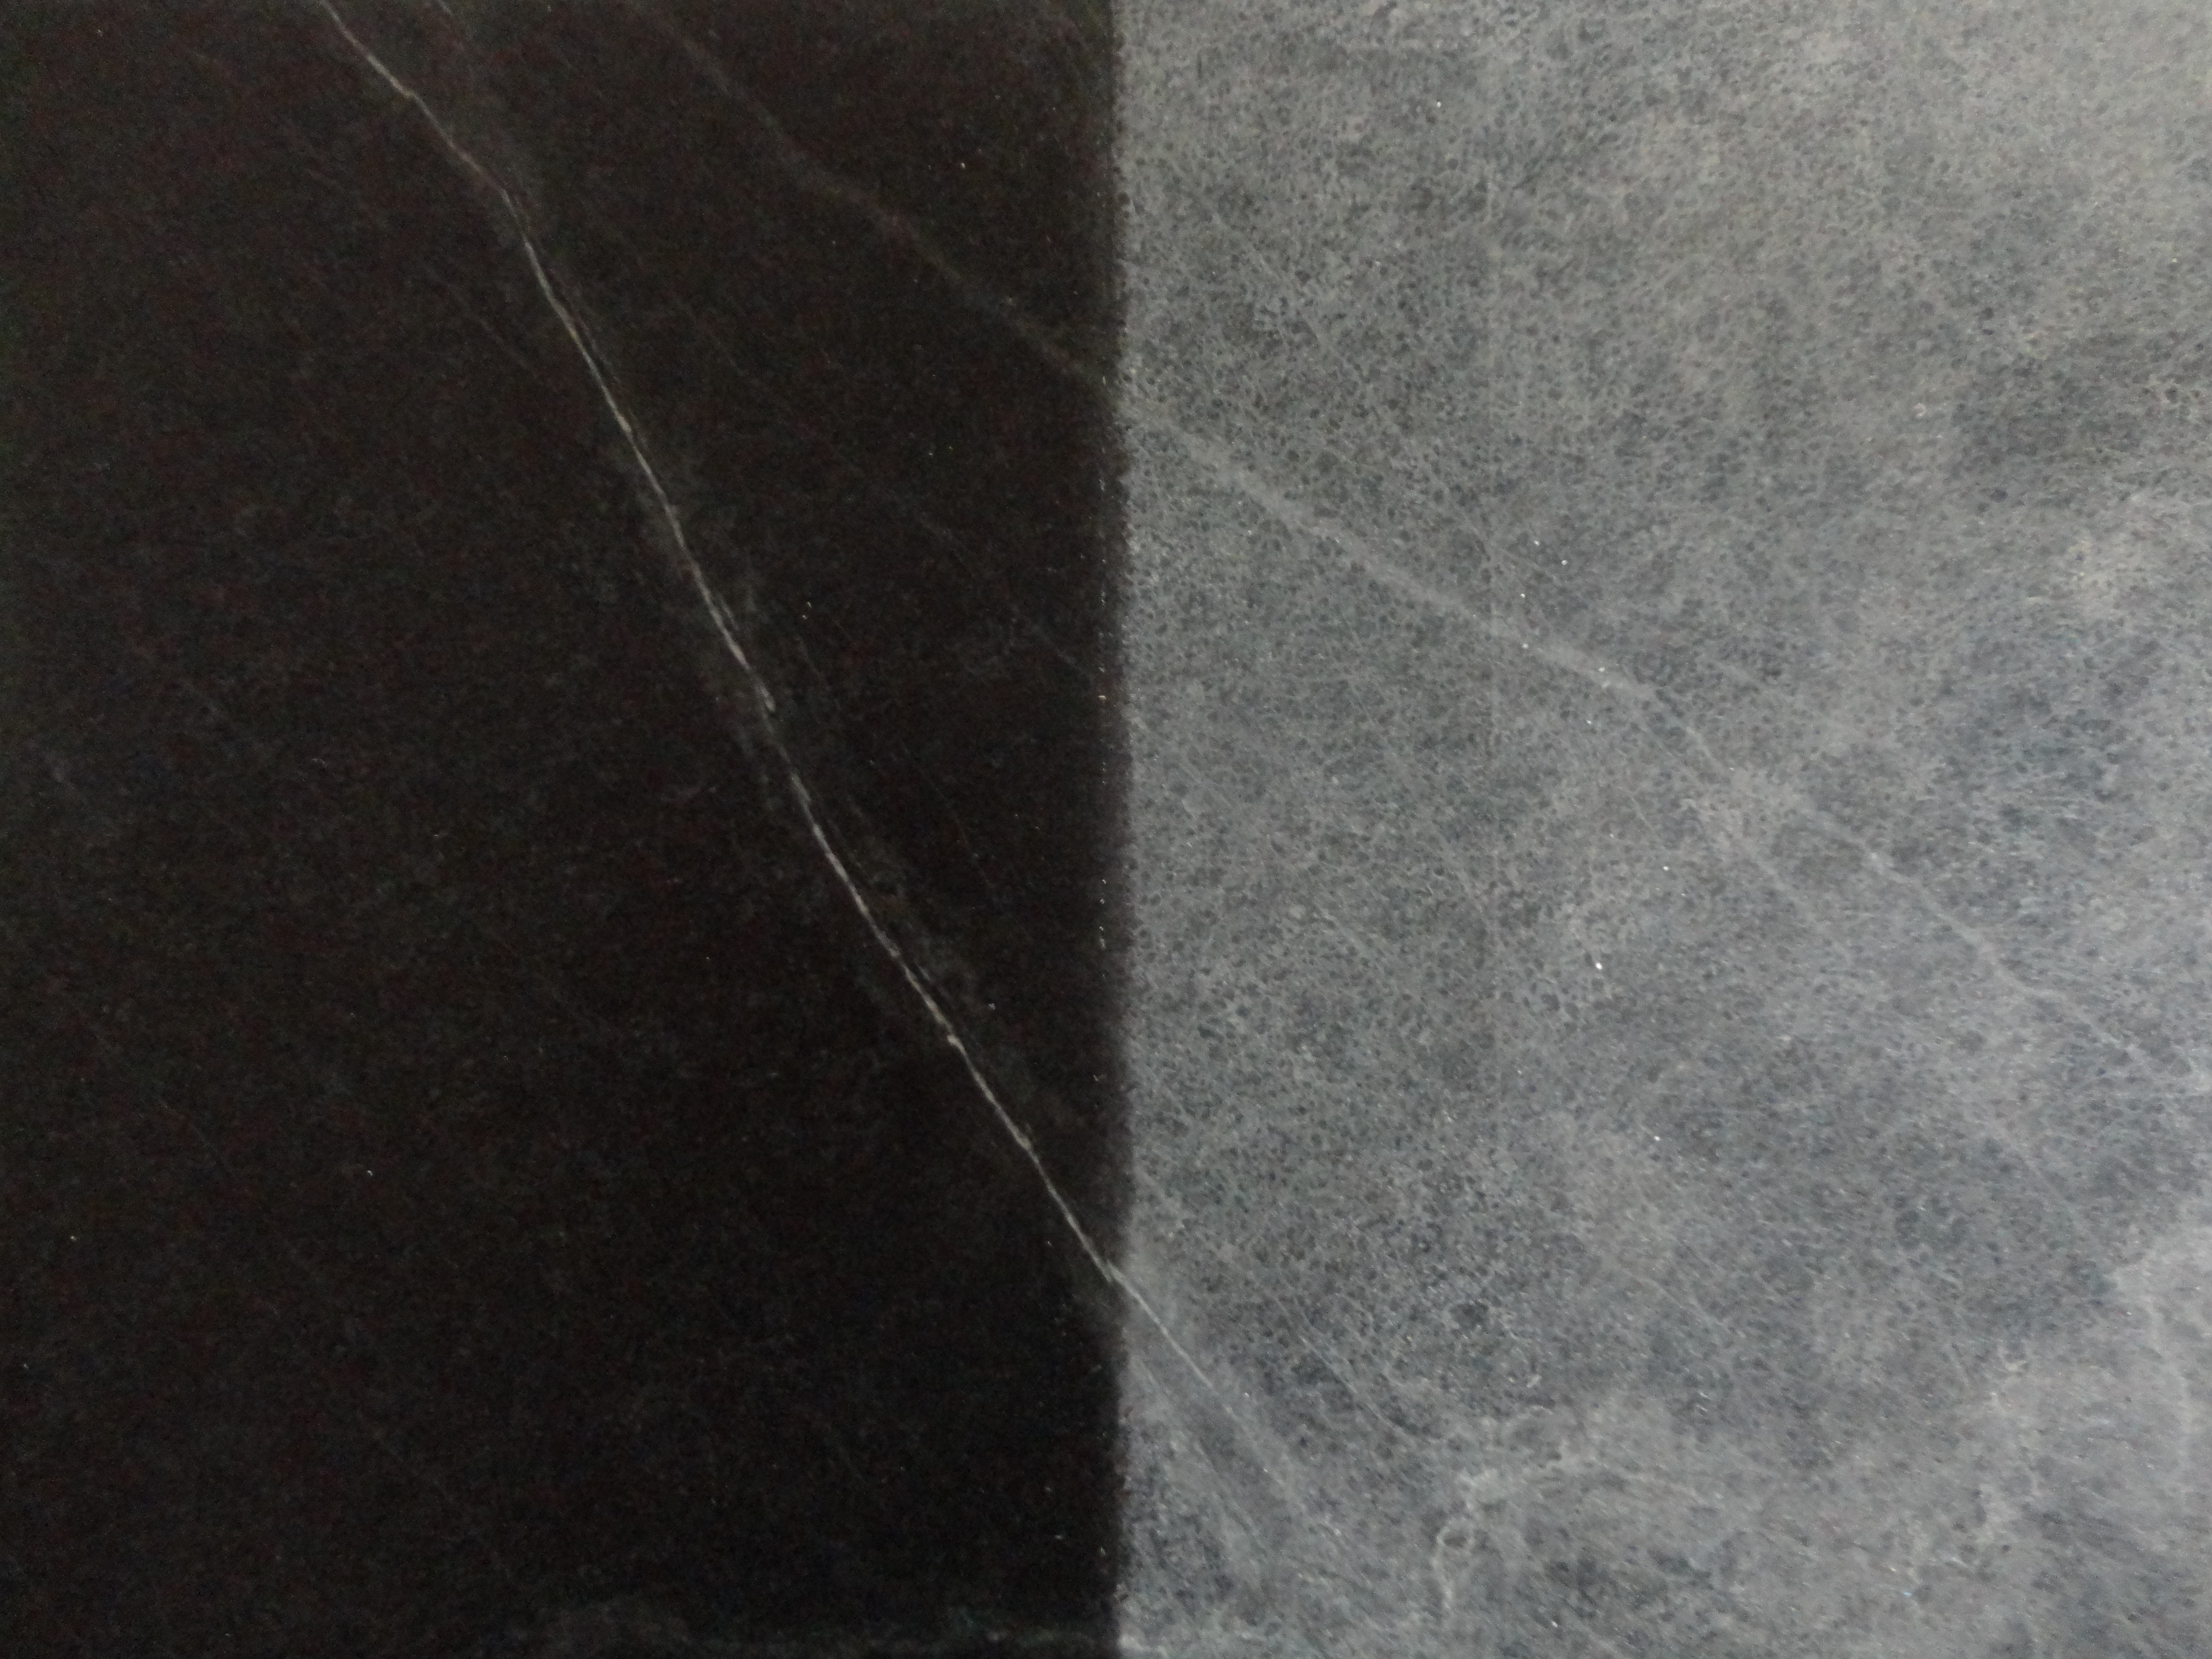
As with any building material, whether granite, engineered quartz, plywood or MDF, cutting and fabricating creates airborne particulates that can have adverse health effects with prolonged exposure. Once in their finished and installed state they pose no hazard in and of themselves. Quartz and granite for example have silica, MDF has formaldehyde and PVC has dioxine to name a few of the most common building materials used in residential construction. Quarried soapstone’s random, naturally formed white or brown veins as illustrated below have been shown in some studies to contain, on rare occasions, a fibrous material with asbestiform actinolite (AA). Although the concentrations of AA in soapstone have been proven by scientific and government studies to be very minimal and well below the governmental acceptable standards, it’s worth noting to follow these steps when handling, fabricating and installing soapstone:
- Always cut and process material in well ventilated locations to reduce the risk of inhaling dust
- Always inspect the soapstone slab to identify and locate veins prior to cutting and sanding
- Avoid cutting directly through the white or brown veins when possible
- Always follow the safety requirements issued by the Occupational Health and Safety Administration (29 C.F.R. 1926.1101) and/or any other agency relating to soapstone in general
Learn more: free Polycor Stone Safety Guide
DIY Deets for cutting and edging
The beauty of soapstone is that although it’s very dense and heavy it’s also soft enough to fabricate with woodworking tools like circular saws, orbital sanders, belt sanders, jigsaws, routers and files. This makes it the exception in the stone fabrication world which typically requires a controlled shop environment and an entirely different arsenal of tools to complete the cutting and finish work. At Polycor we produce a handy kit called a Kitchen In A Box which is made of precut blanks of our Alberene Soapstone from our Virginia quarry. With six countertop pieces 1 ¼” thick, each piece is 25 1/2″ x 48″overall and there’s even a set of 4” backsplashes to finish off the install. Full slabs of soapstone cut from our raw blocks at the quarry are as large as 10’ x 6’ and aren’t DIY friendly in the least, requiring the assistance of a local fabricator to perform the work simply because of the weight and challenges that come with handling it.
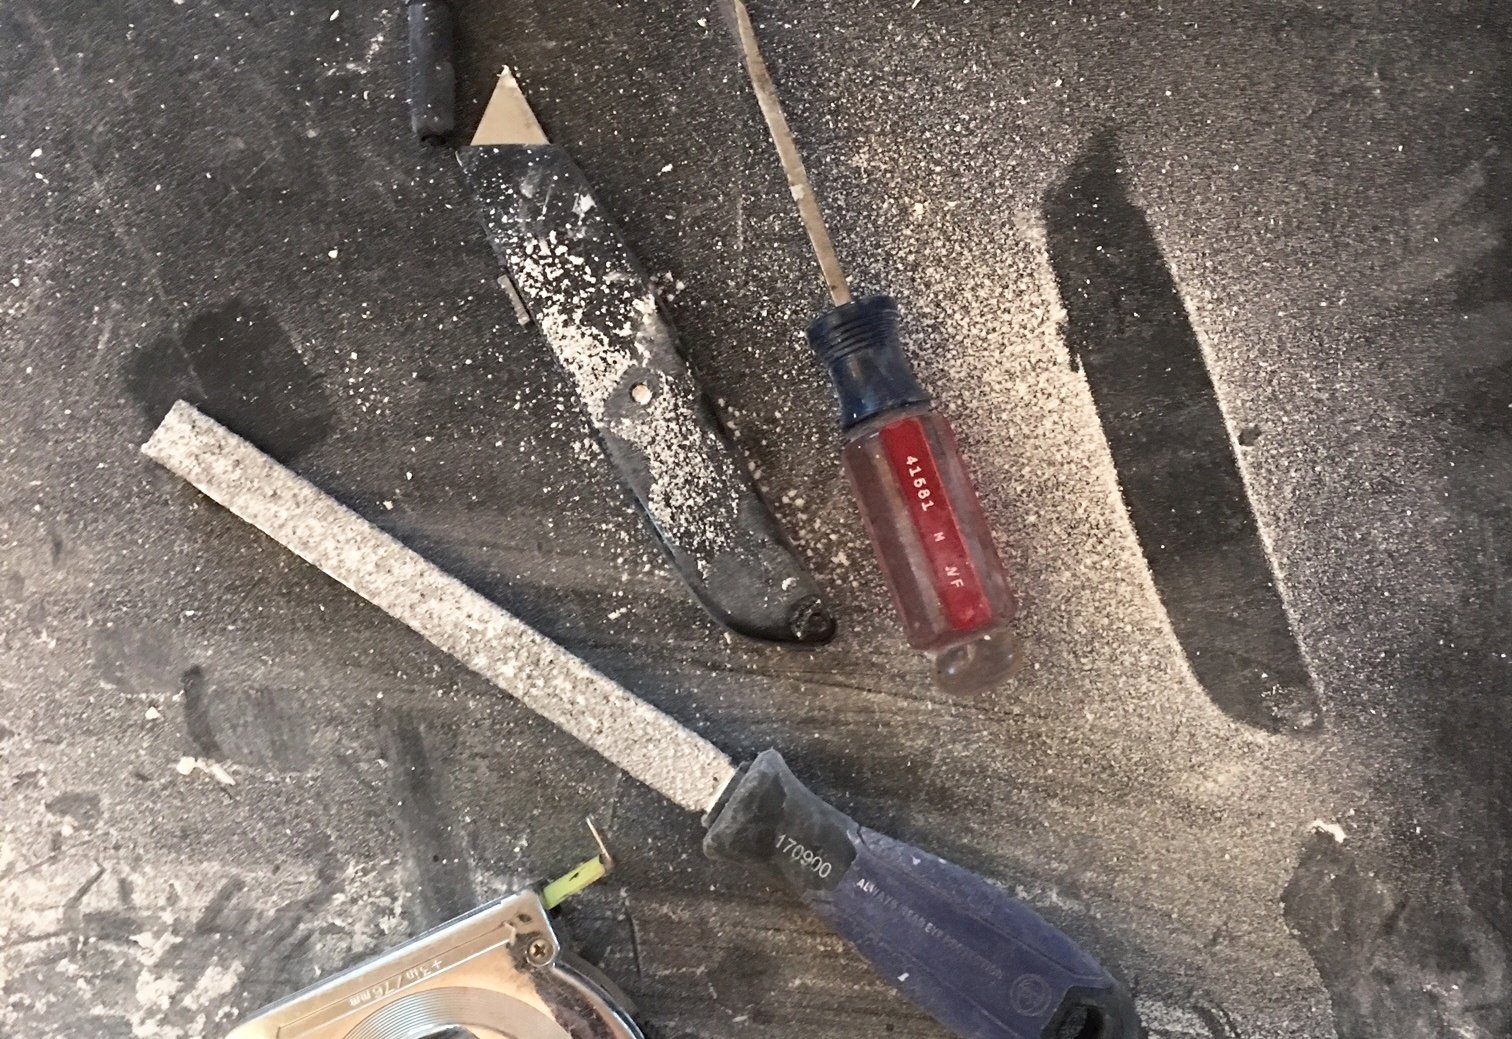
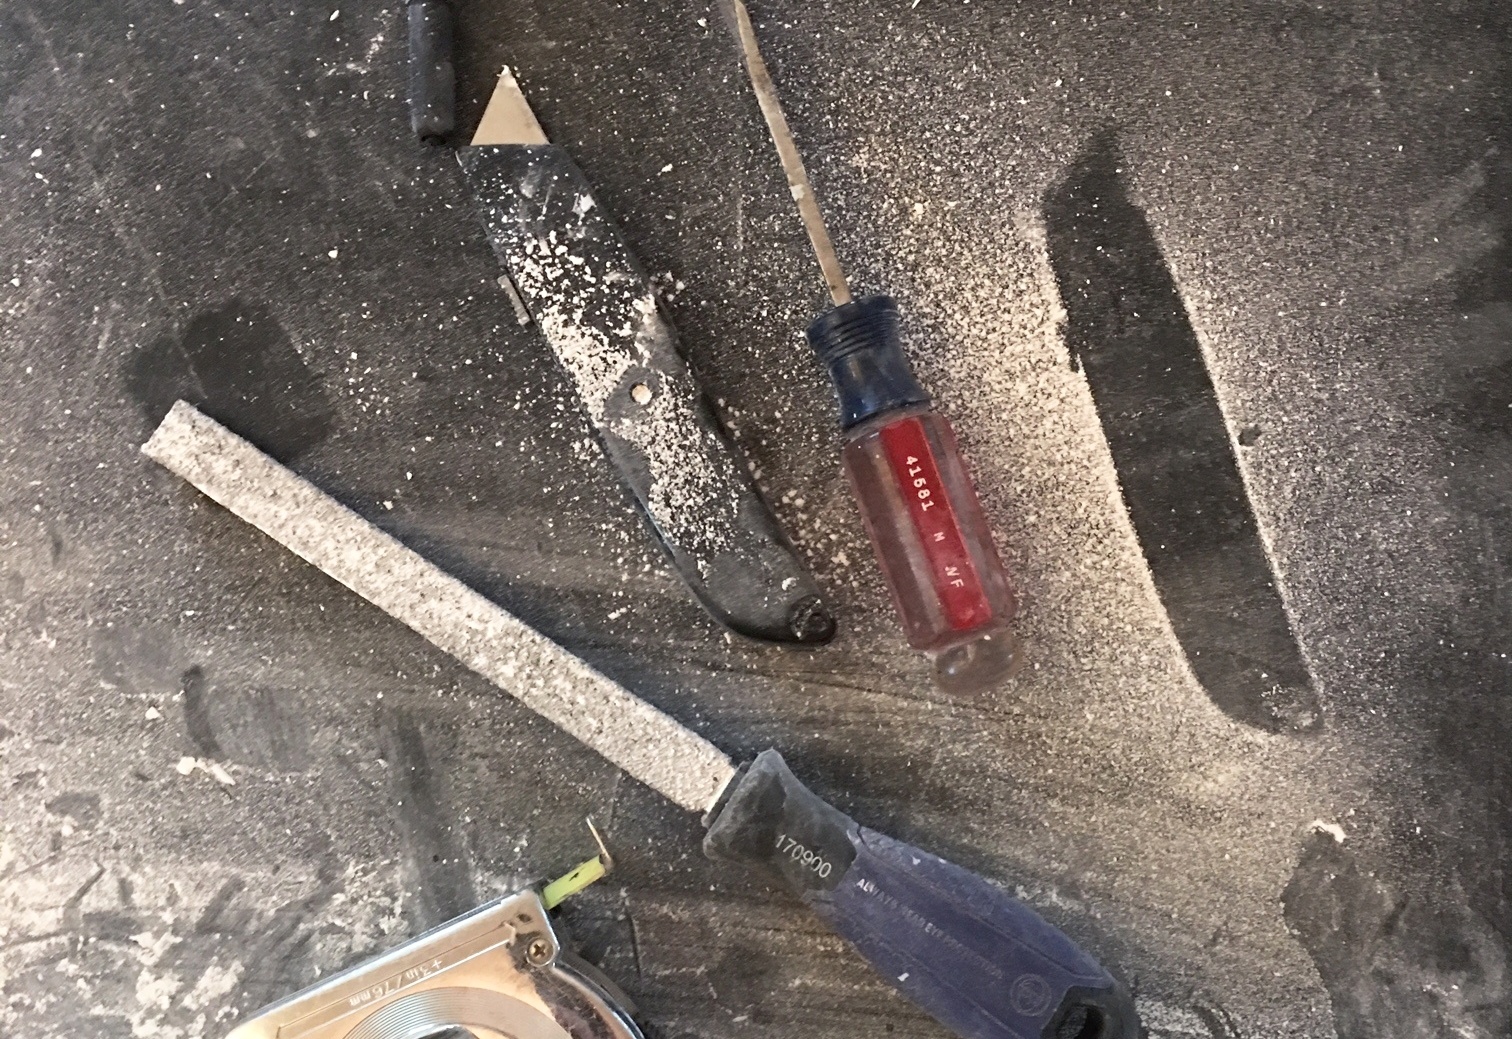
Using a circular saw with a properly sized diamond blade will easily rip the material to size, but be sure to add some painters tape to the bottom of the base plate so it won’t scratch the slab as the dust accumulates during the cut. A straight edge of wood or metal will help get a clean, straight cut. Alberene Soapstone is an architectural grade soapstone meaning it has a greater density with less talc so it holds up nicely during cutting much like an exotic hardwood but don’t force the blade, just keep it nice and steady.
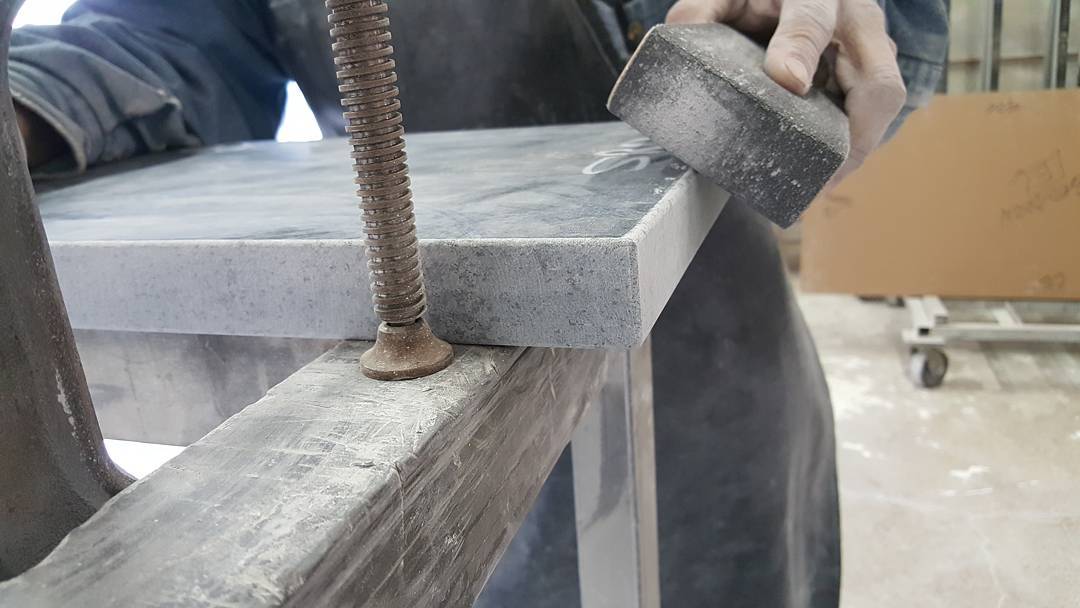
Edgework can be done by hand with sanding blocks or other handheld abrasives or with a woodworking router and carbide bits for simple edges like a ¼ roundover, ½ bullnose and eased edges among others. Several passes may be required to get an even shape. Unlike granite which requires large water-fed routers with external transformers and specially made diamond bits in varying steps, they aren’t necessary for working with soapstone. Finish off the remaining lines and ridges leftover from the bit with 120 and 220 grit silicon carbide sandpaper on an orbital sander.
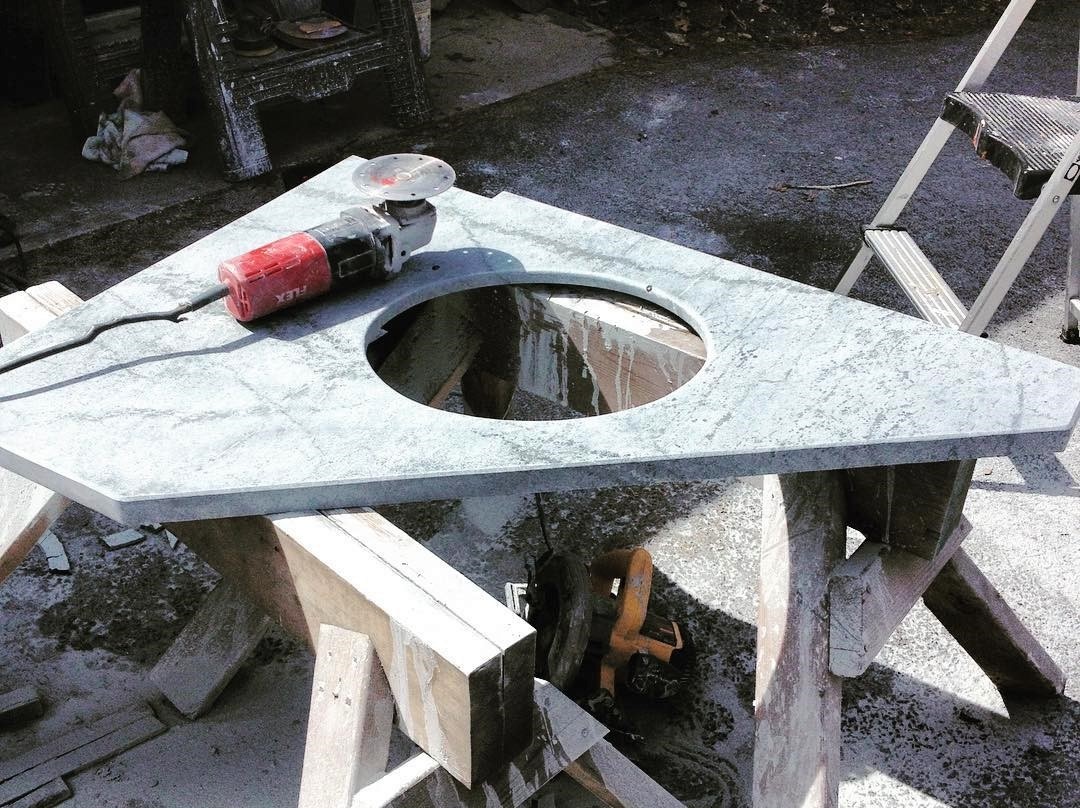
Cutouts for sinks and cooktops come with their own quirks, but nothing that a seasoned DIY’er can’t handle. Predrilling inside corners with carbide tipped hole bits will get you started before moving on to using a grinder, jigsaw or circular saw with diamond blade to finish the cuts. Be sure to cut well outside the line and sand back to the pencil line to avoid overcutting. Progress with 120 and 220 grit sandpaper again on an orbital sander to shape and finish the edges.
Once all the cutting and edgework is completed there’s not much left to do except drill for some sink anchors if installing an undermount sink and decide whether to enhance the soapstone to darken it or leave it natural (another heated debate). You can see how to apply our custom made Alberene Dry Wax here.
If you’ve followed all the steps outlined here you’ll be sitting pretty with some sweet soapstone countertops and feeling the pride of a job well done (plus the joy of a well deserved shower.)
